Hi Everyone! I'm back today to join in the fun for The Simon Says Stamp STAMPtember 2021 Blog Party! Today I used the new O Christmas Tree background stamp to create these cards!
Make sure that your read to the end to find a code for an exclusive gift with purchase!!!
For my first card I stamped the image with Versamark ink on some Bristol paper. Then I sprinkled some WOW opaque white embossing powder over the ink and heated it with my heat tool until the powder melted.
Then I pulled out my Distress oxide inks and ink blended them over the embossed image. Once I had the colours blended the way that I wanted it to look I took a microfibre cloth and wiped the excess ink off of the embossed image.
Then I stamped Merry Christmas sentiment from the CZ designs Clean Line Christmas stamp set onto some vellum and then die cut it out. I adhered the sentiment to to the panel and then the panel to a card base mad of 110# Neenah paper. I added some sparkle around the perimeter of the card panel and that is it!

For my second card I stamped the image with Versamark ink on some Simon Says Stamp Schoolhouse Red cardstock. Then I sprinkled some WOW white embossing powder over the ink and heated it with my heat tool until the powder melted.
Then I stamped the sentiment from the CZ designs Clean Line Christmas stamp set and then die cut it out. I adhered the sentiment to to the panel and then the panel to a card base mad of 110# Neenah paper.
Thanks for stopping by!
BONUS!!!!!!
I also made some gift tags using the same process as the second card!
If you have a look at the next image below you can redeem a coupon code for a gift with purchase at Simon Says Stamp! Happy Shopping! :)
#simonsaysstamp
#sssSTAMPtember #SSSendACard #SSSUnitedWeCraft
#cardmaking #papercrafting #cardmakers #cardmakingsupplies #cardmaker #handmadecards #craftyfun
To see the whole Simon Says Stamp STAMPtember release
CLICK HERE:
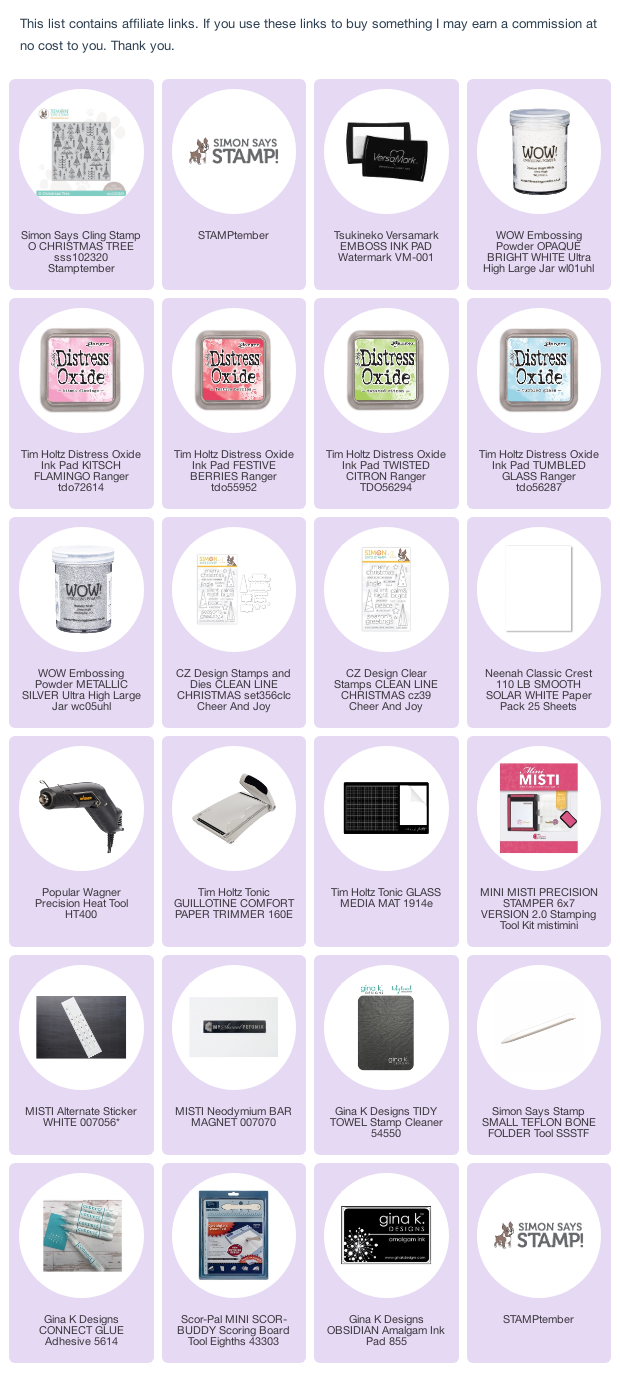
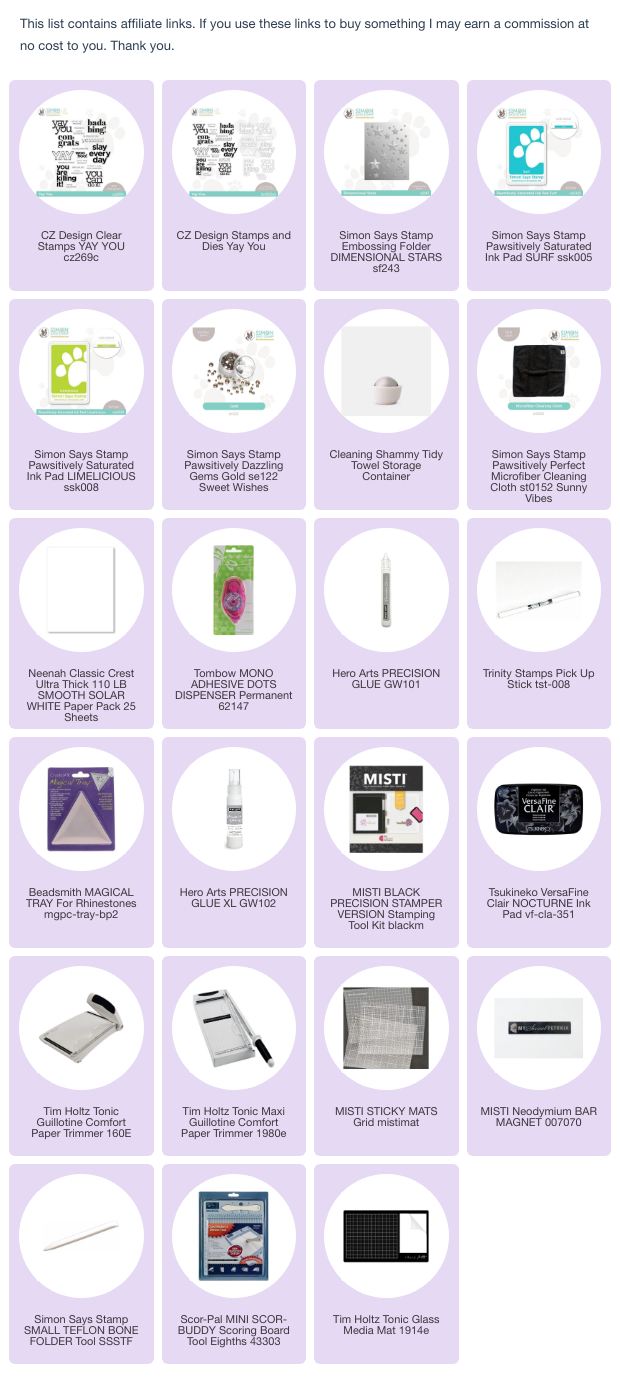
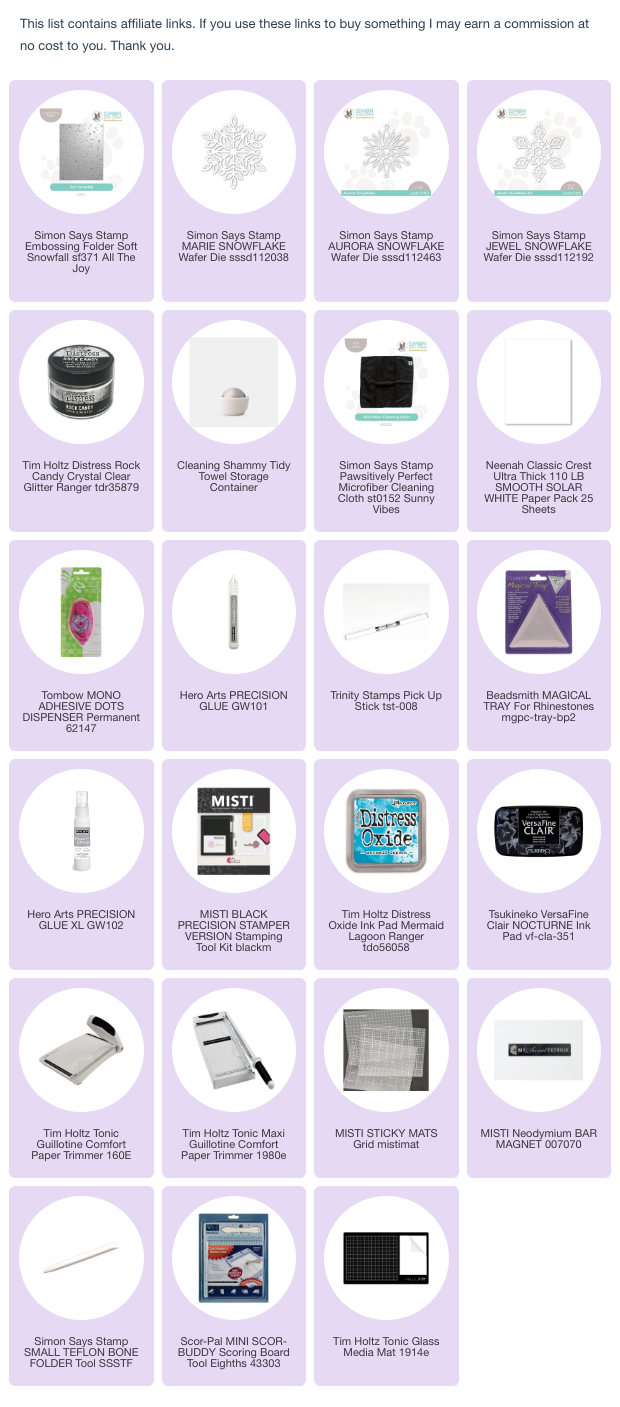
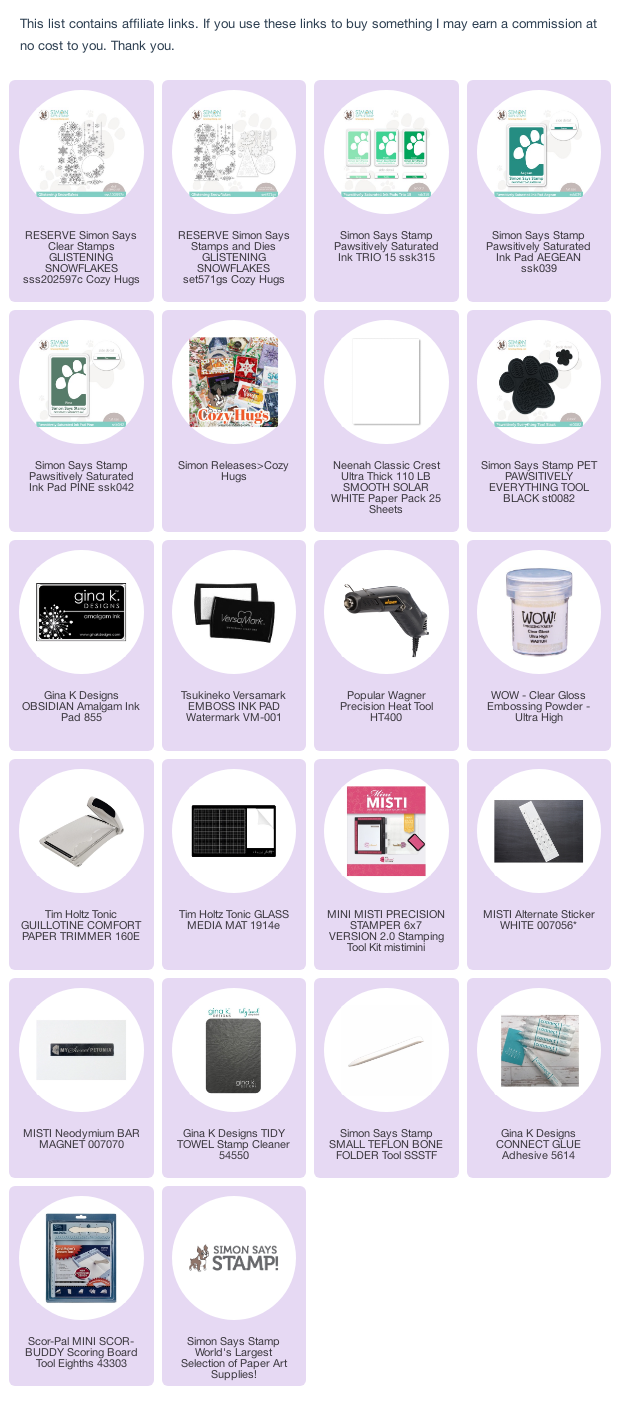
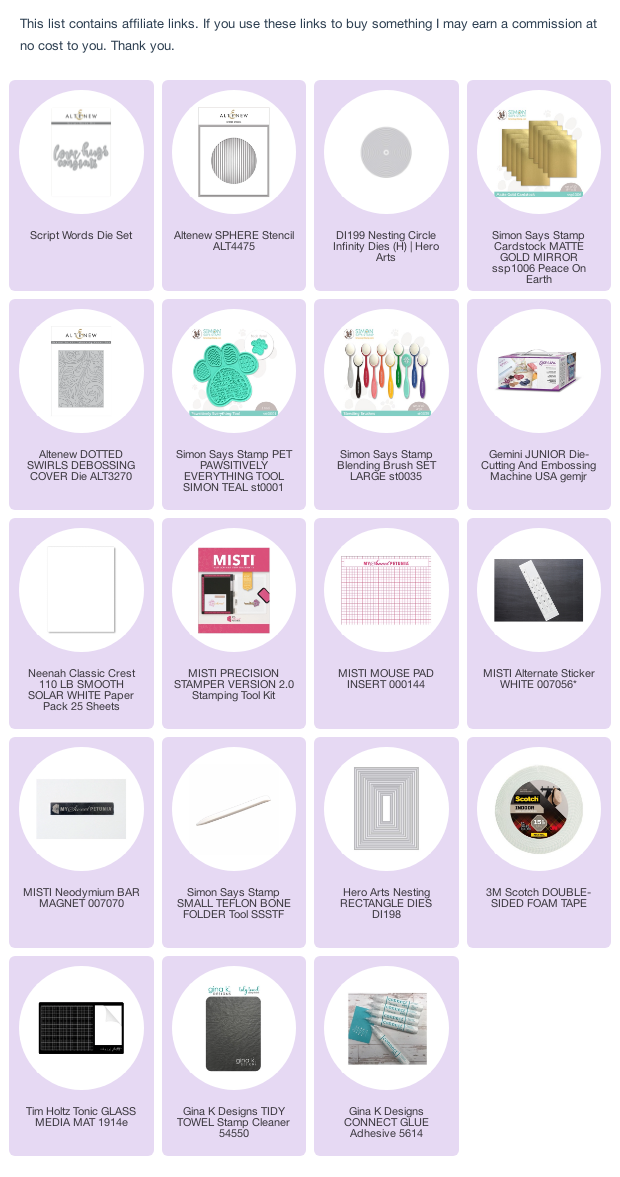
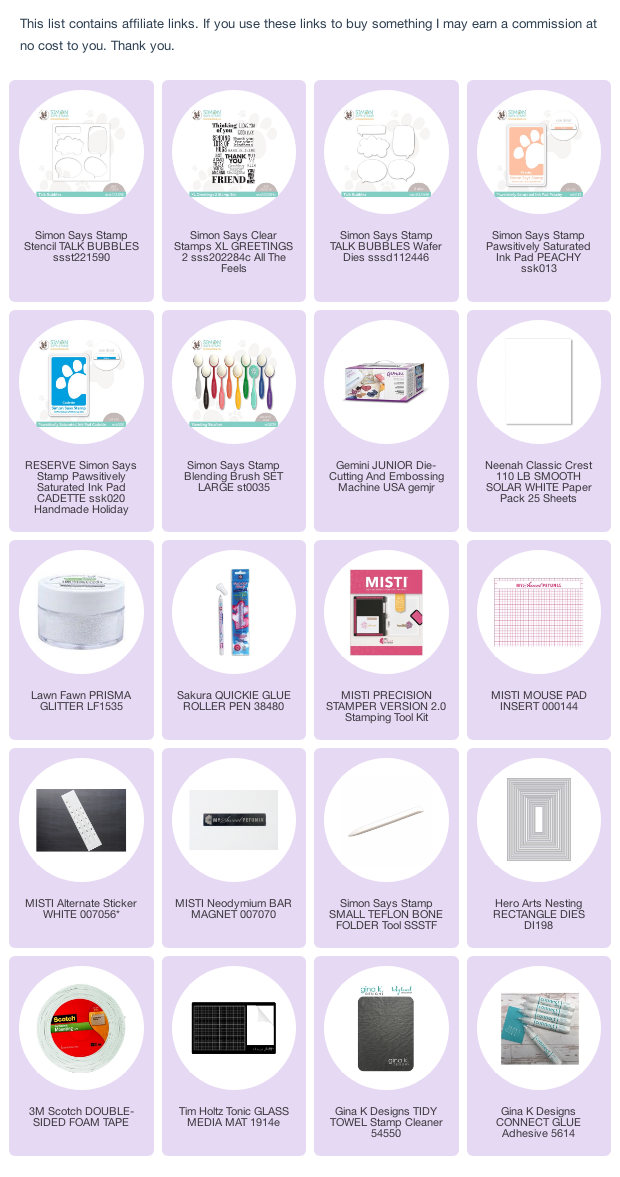
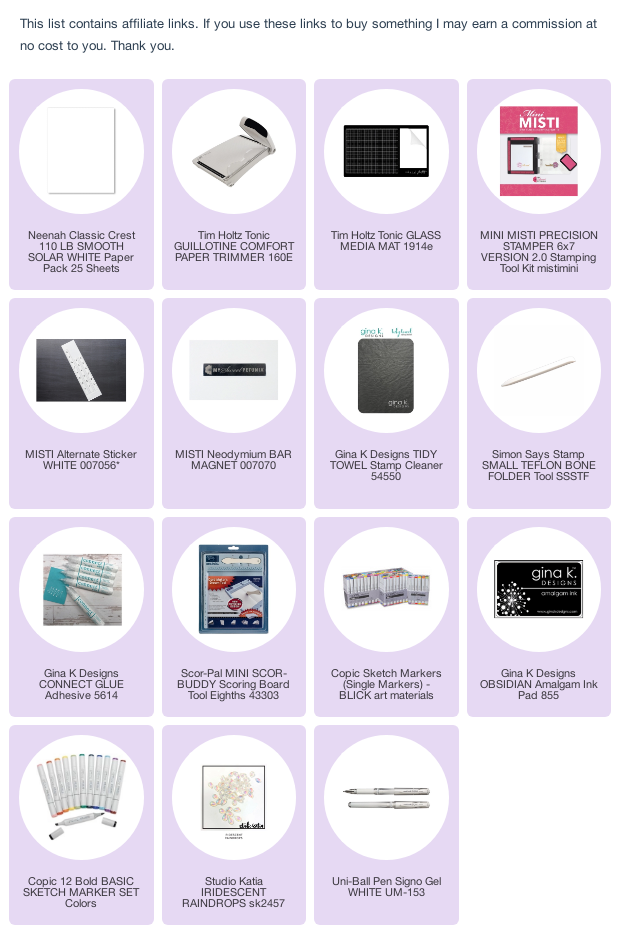
Here are links to the products used:
I'll be there to share my tips on making some Alcohol Ink cards! Join me!


