Three Room Studio: Saturday Challenge Bold and Bright


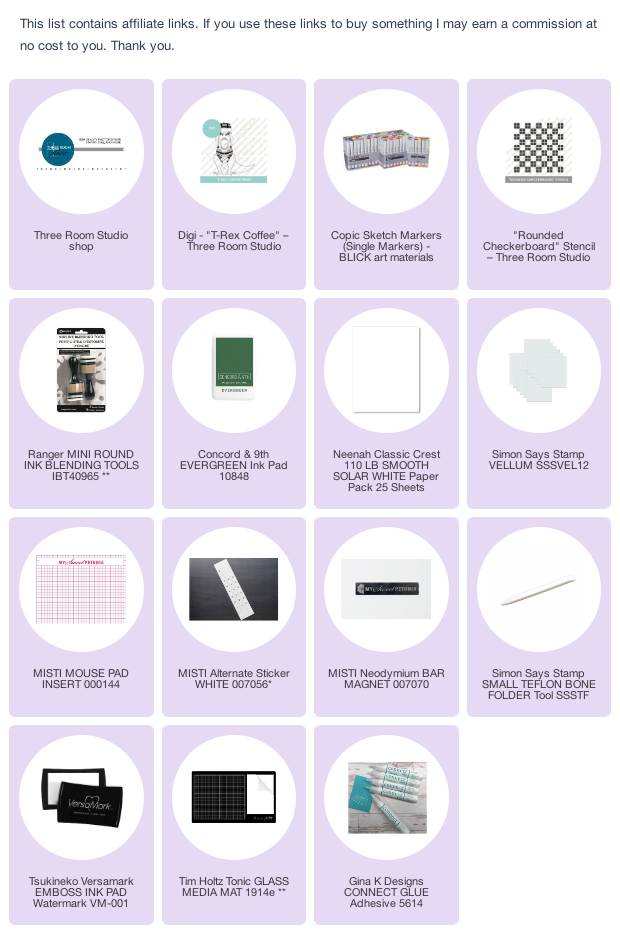
Hi Everyone!  It's time for the Three Room Studio Saturday Challenge! The theme today is bold and bright!  For the challenge today I used the T Rex Coffee digital stamp and the Rounded Rectangles Stencil! 


First I printed out the T Rex Coffee digital stamp with my printer on some Neenah 80# cardstock. I coloured him up and set him aside. Then I got a piece of Bristol paper and ink blended  the stencil with some green ink. Next I took a gold pen from my stash and made bows on each of the rectangles to make then look like presents. I die cut that panel with a die that is a little smaller than A2 and adhered it to my card base of Neenah 110# paper. 

Finally I added the T Rex image to the panel and popped him up with some foam tape. I added some puffy embossing powder to his hat and the snow at his feet. I also added some glitter around the panel and on the snow. That is it! 


Be sure to check out some of our fellow designers for today's challenge: 


@inkyfingersandribbon

@creatingwithsusan

@kerri1974mar

@i_card_so_hard

@stamping_imperfection


 To join in and share your own card for the challenge check out the full challenge details on the @threeroomstudio blog!  One lucky participant per month will win a $15 gift certificate to the Three Room Studio Shop!! Get crafting! 

Here is a link to the Three Room Studio Blog:

https://www.threeroomstudio.com/blogs/news

#threeroomstudio #threeroomstudiojustamoment #threeroomstudiostarrayfull #copicmarkers #threeroomstudiosaturdaychallenge 

#adultcoloring #adultcolouring #cardmaking #papercrafting #cardmakers #cardmakingsupplies #cardmaker #handmadecards #craftyfun 


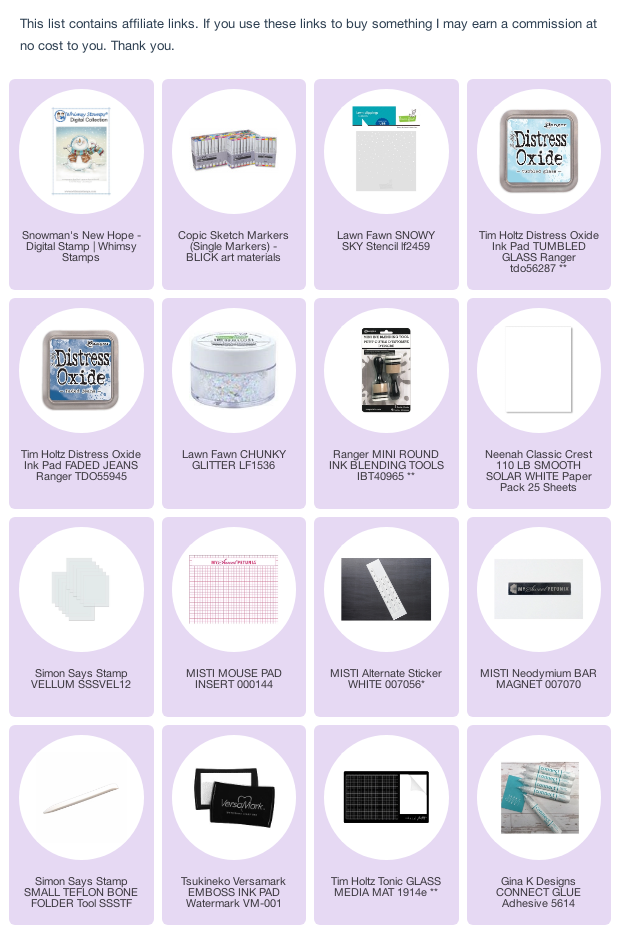
Snowman's New Hope!


Hi Everyone! It's Whimsy time over at Passionate Paper Creations and Friends Facebook Group!

For this card I coloured the snowman with my copic markers. For the background I pushed some embossing ink through the stencil and added some white embossing powder. I heated the powder with my heat tool. Then I ink blended over the snow and wiped the excess off with a microfibre cloth. I popped the image up on my panel with some foam tape and added some glitter. That is it! Thanks for stopping by my blog today! 


 Do you like a sale? Then come on down! Not a member of Passionate Paper Creations & Friends Facebook group? Join us! https://bit.ly/2VwG9iz 

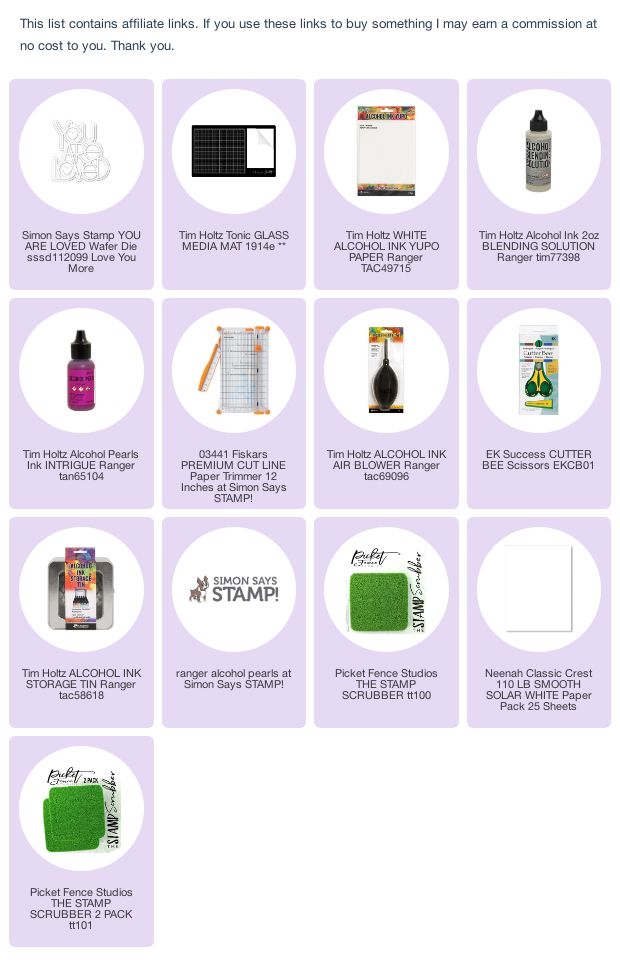
You are loved! Alcohol ink pearls


Hi Everyone!  Do you love playing with alcohol Inks? I do. Here is a quick card that I made with some Alcohol ink pearls and a die cut sentiment. 

@ranger_ink @simonsaysstamp#simonsaysstamp #ranger_ink#alcoholink #alcoholinkpearls#youareloved #cardmaking#papercrafting #handmadecards#craftyfun

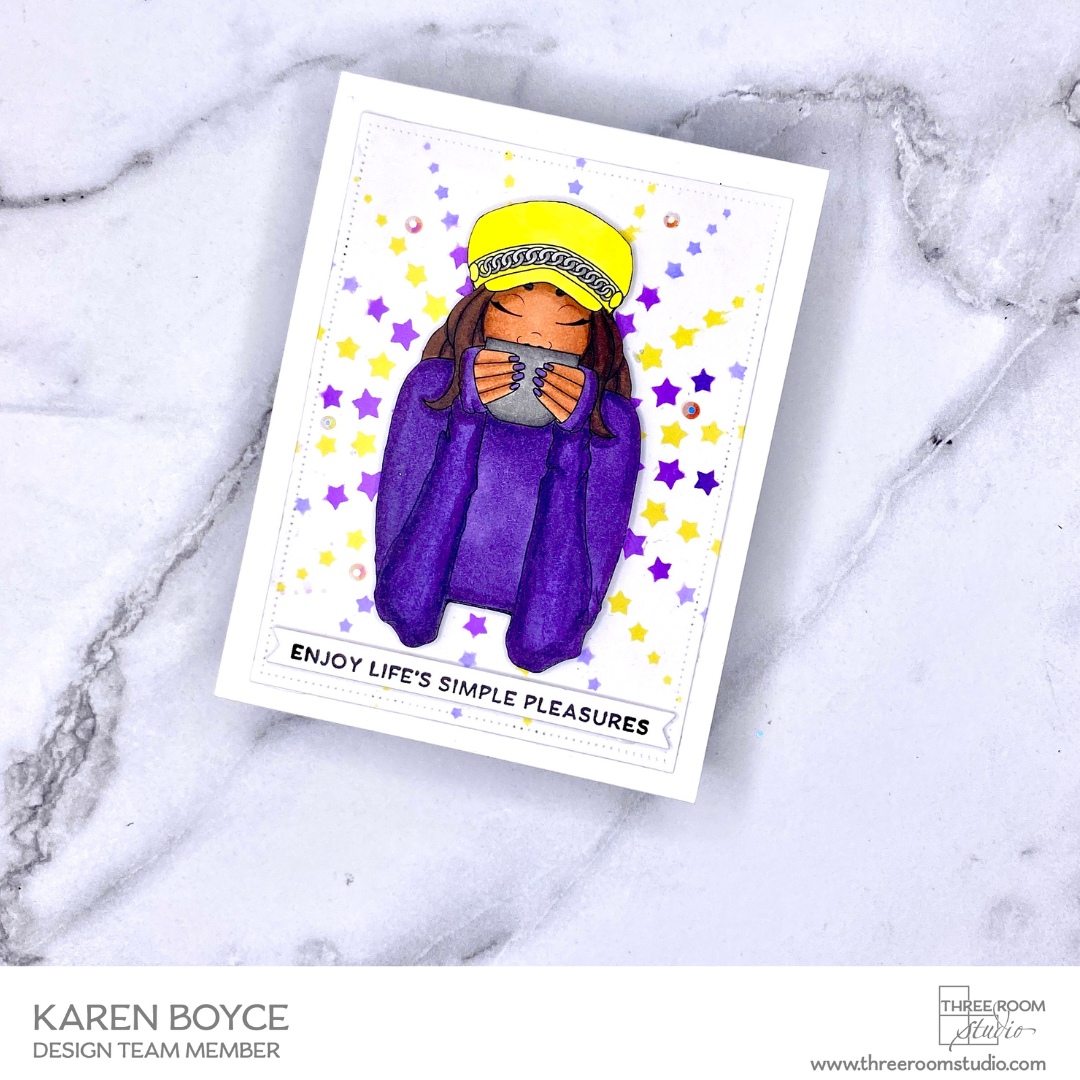
Three Room Studio: Saturday Challenge- Use Purple


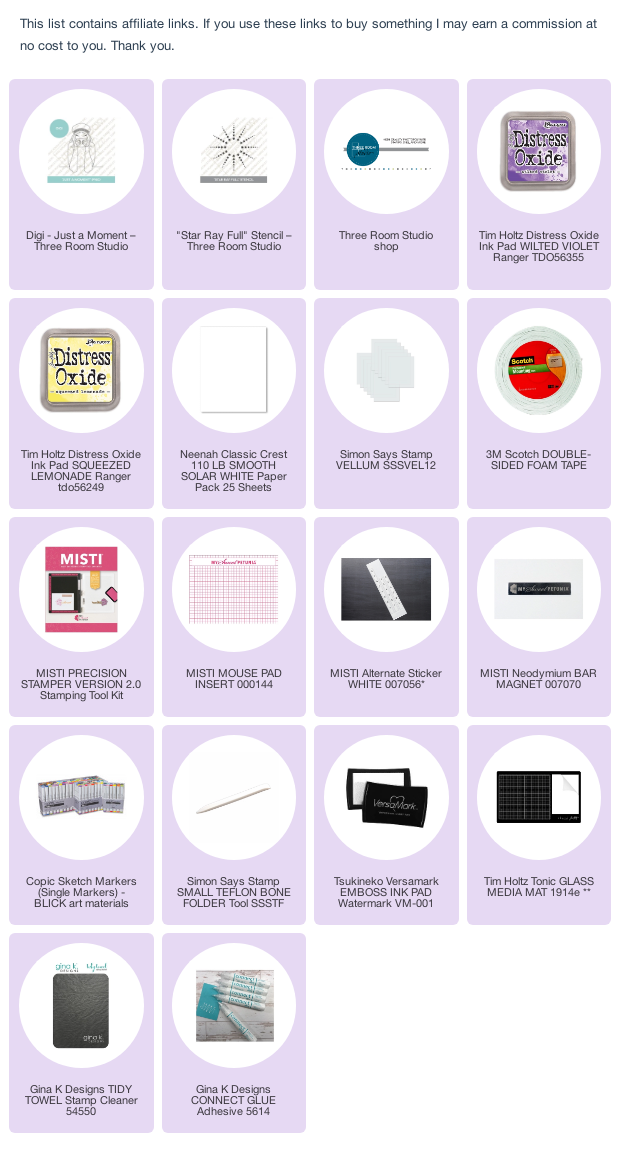
Hi Everyone!  It's time for the Three Room Studio Saturday Challenge! The theme today is purple!  For the challenge today I used the Just a Moment digital stamp and coloured it with my Copic markers. I made the background using the Star Ray Full stencil also by Three Room Studio! 


Be sure to check out some of our fellow designers for today's challenge: 


@i_card_so_hard

@onestampingfool

@creatingwithsusan


 To join in and share your own card for the challenge check out the full challenge details on the @threeroomstudio blog!  One lucky participant per month will win a $15 gift certificate to the Three Room Studio Shop!! Get crafting! 

Here is a link to the Three Room Studio Blog:

https://www.threeroomstudio.com/blogs/news

#threeroomstudio #threeroomstudiojustamoment #threeroomstudiostarrayfull #copicmarkers #threeroomstudiosaturdaychallenge 

#adultcoloring #adultcolouring #cardmaking #papercrafting #cardmakers #cardmakingsupplies #cardmaker #handmadecards #craftyfun 


Three Room Friday: Feature Friday Mummies


Hi Everyone! This is Karen from @cardsstampsandink. Welcome to Three Room Studio's Feature Friday! Today I am sharing a card that I made using the brand new Mummies digital stamp set!  Who knew that making Halloween cards could be this easy!  

I printed this digital stamp on an 8.5 x 11 inch piece of #80 Neenah Classic Crest Solar White paper. I chose to print two sets of the Mummies on the sheet of paper to get the images to the size that I wanted. I cut them out and then arranged them how I wanted them to look on my finished card. 

Next I pulled out a the Tim Holtz Moon stencil and used it to mask a piece of Bristol cardstock. I ink blended the Shaded Lilac colour closest to the moon and then the Wilted Violet for the rest. I added some depth to the edges using some Black Soot ink.  Next I splattered some purple acrylic paint over the panel. Then I removed the stencil and added another layer and placed some glow in the dark paste on it to make the texture on the moon. Once dry I ink blended a little Hickory Smoke ink over the moon. While the panel dried I added some gold glitter to the Jack o Lantern, some black glitter to the Mummies and some green glitter to the eye of the black cat. 

I stamped the sentiment from the Welcome Little One stamp set on a sentiment strip and popped it up at the bottom of the panel. Then I popped up the images on the panel and added a few gems! There you have it!

Thank you for looking at my blog today! Be sure to Always stop by to check out the wonderful inspiration from Three Room Studio!

Missing You! Butterfly


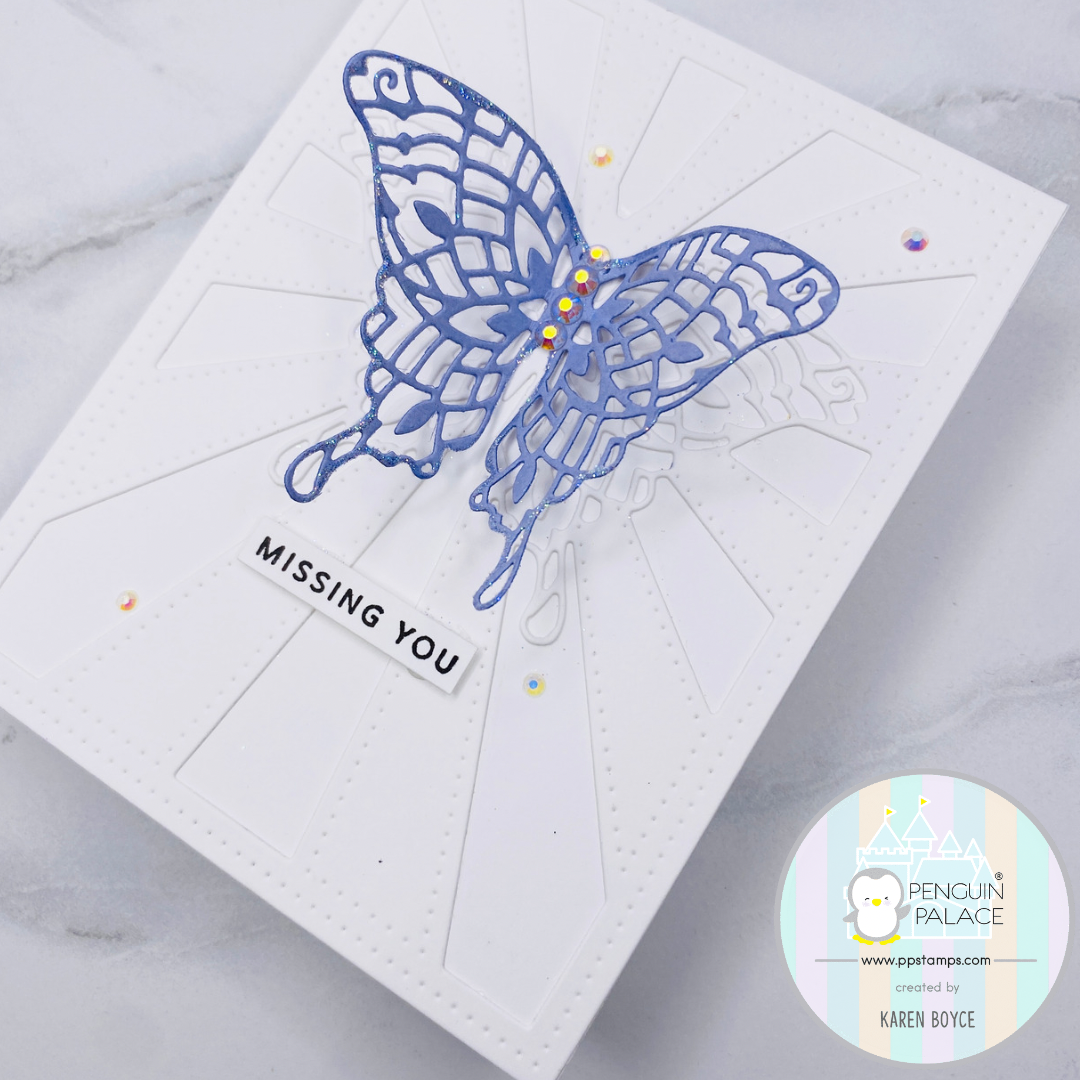
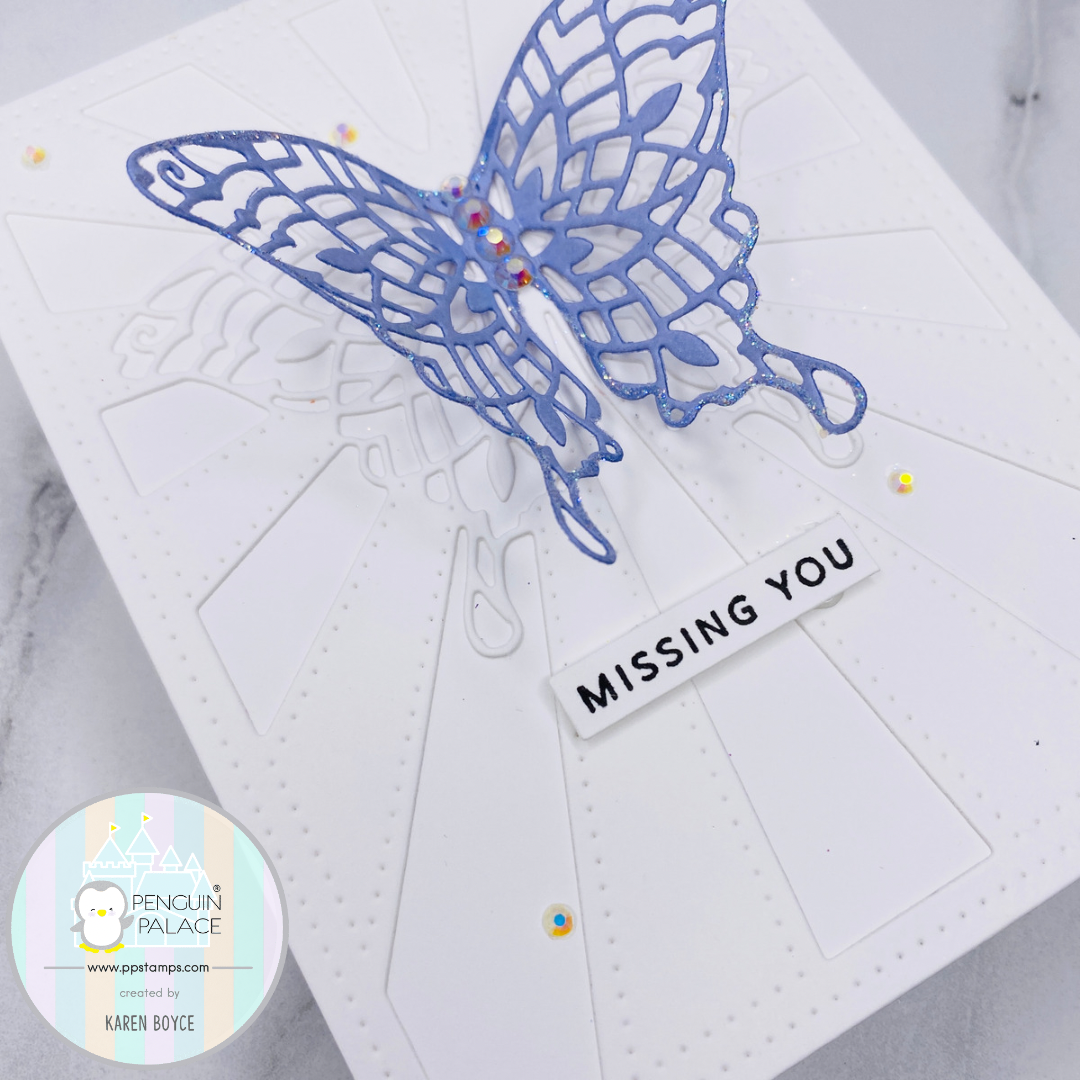
Hi Everyone! Today I am sharing a card that I made using the Butterfly Emergence Dies! 


First I cut out the base panel out of some Neenah Cardstock and adhered it to my card base of Neenah cardstock.  Next I cut out the standalone Butterfly out of some Penguin Palace Grape Macaron Cardstock and adhered it to the base panel.


Then I lifted the butterfly wings up and added some gems to the body of the Butterfly and sprinkled them on my card. 


Next I stamped the sentiment  from the Magical Christmas Sentiments stamp set on a sentiment strip and popped it up on my card! 

That's it!

Thanks for stopping by!

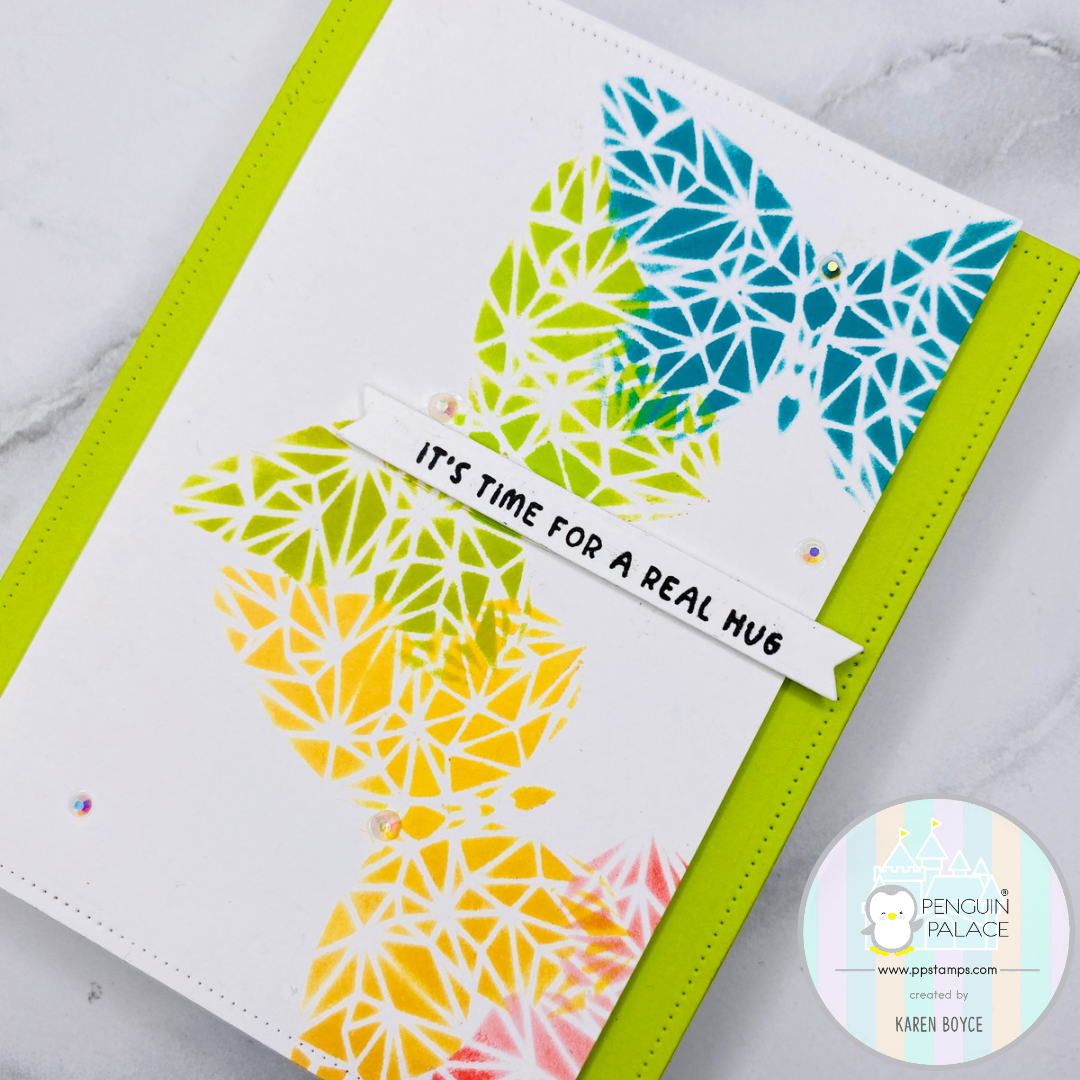
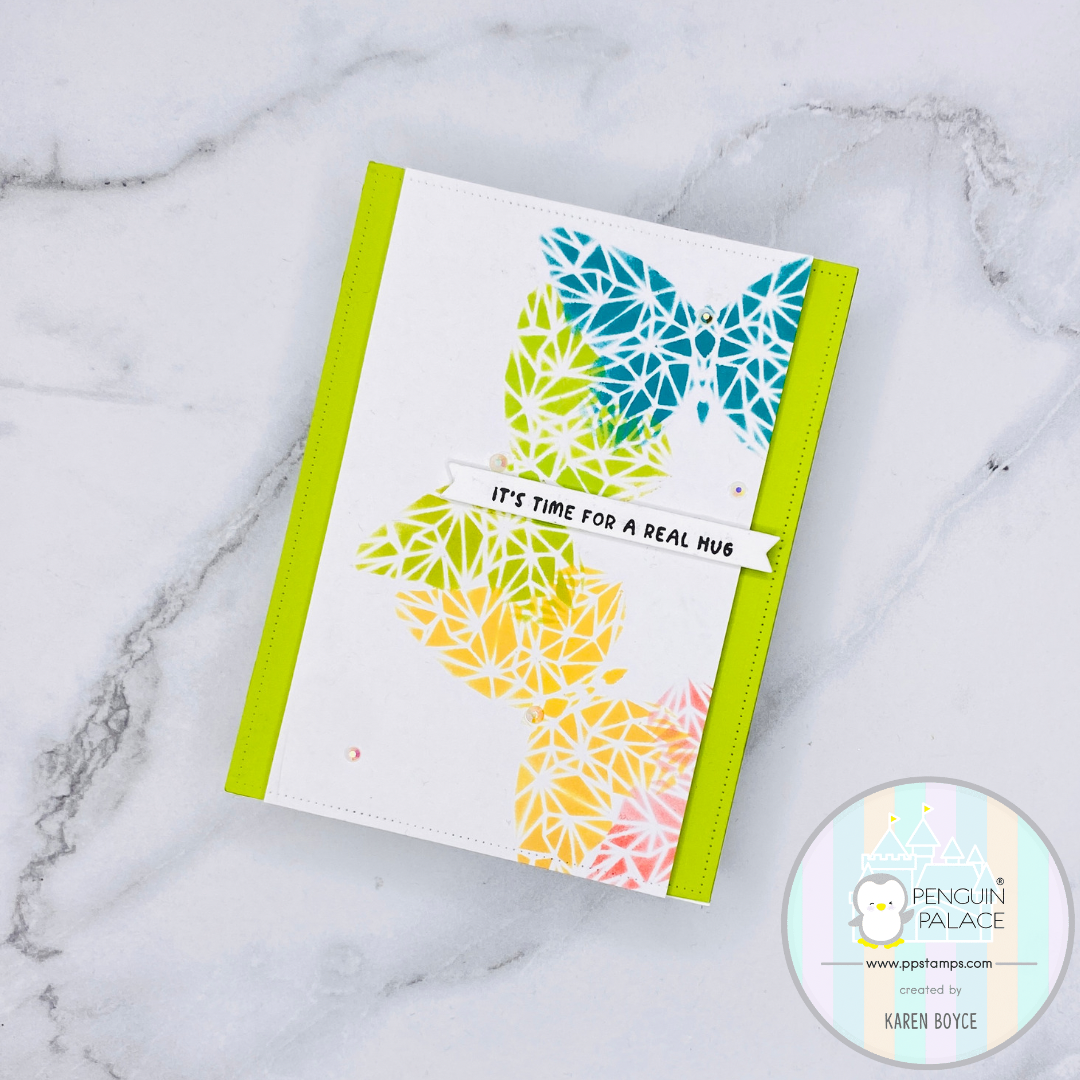
It's time for a real hug!


 Hi Everyone!   Have you ever played with the Penguin Palace Stencils 360? 
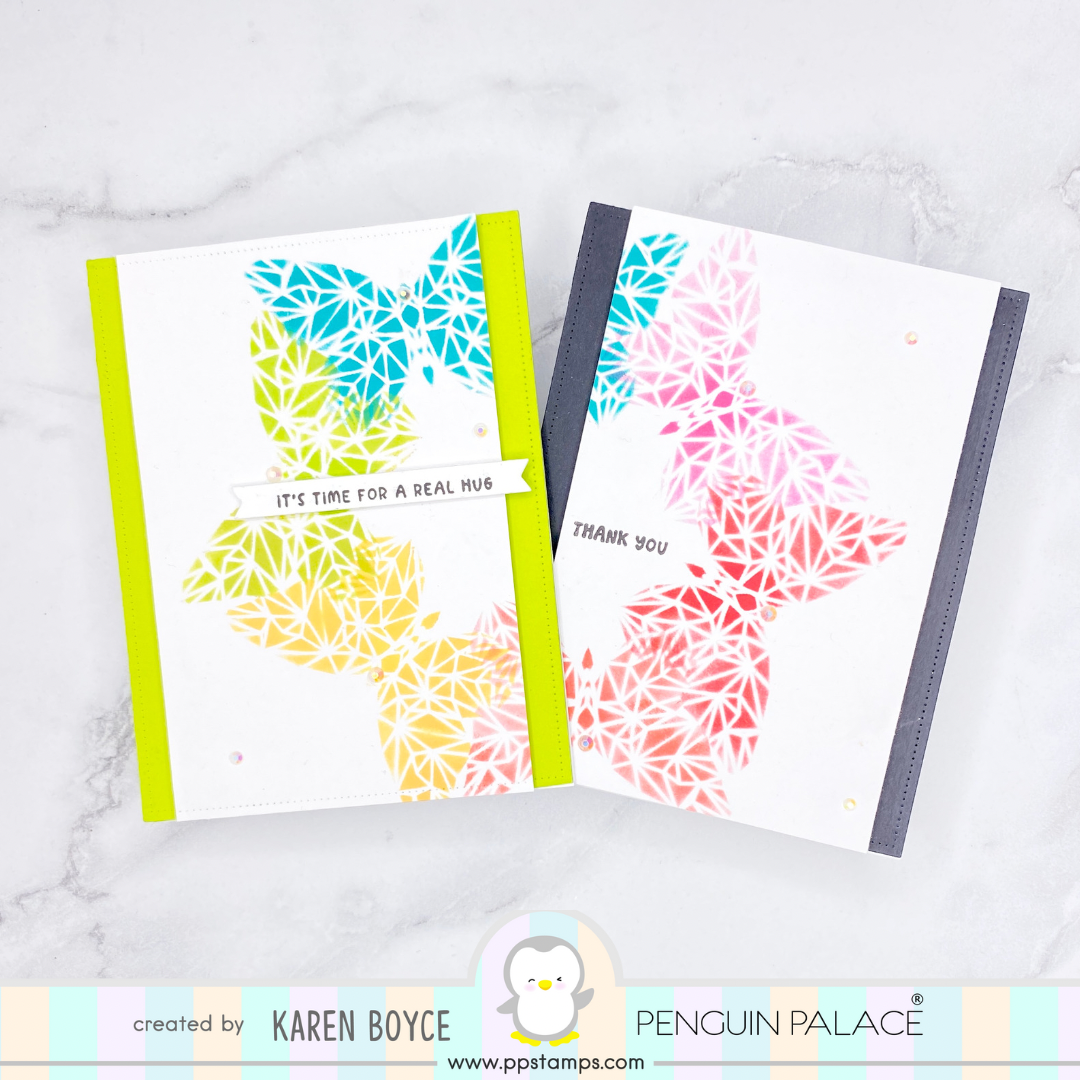
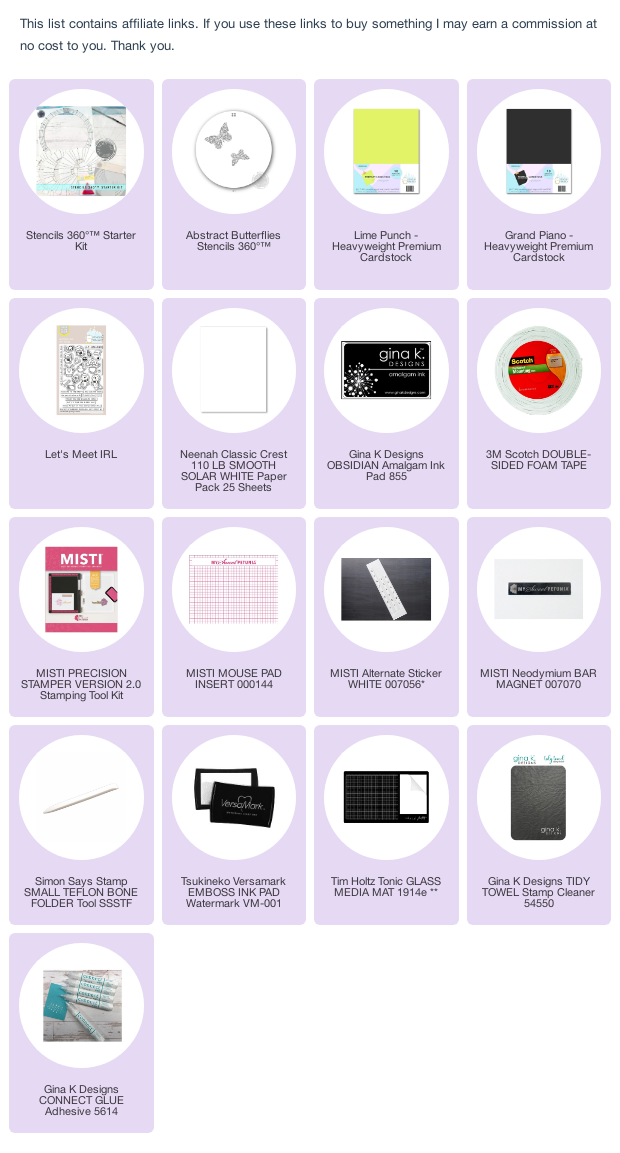
It’s a tool to make quick and easy cards with so many designs to choose from! For these cards I used the new Abstract Butterfly stencils!


Here is what I made using the stencil! 

I cut the panel that I made in 2 in order to make the two cards.


I used the sentiments from the Let's meet IRL stamp set. I did do a tiny bit of masking on the sentiments in order to get the message that I wanted for my cards!


Thank you for stopping by my blog today!


To get your own stamps and dies from this new collection you can preorder them now!

Get crafty! 


Let's meet IRL!


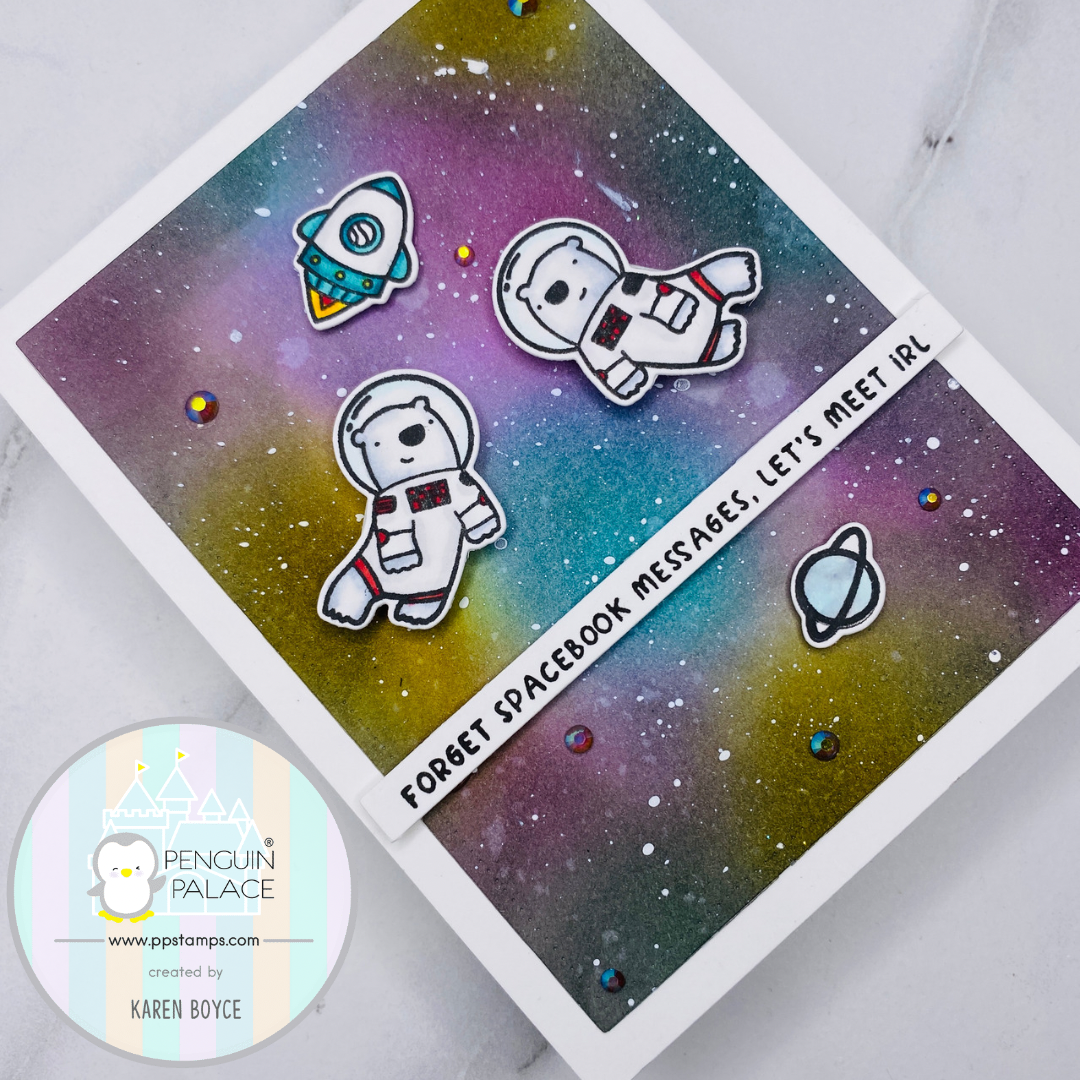
Hi Everyone! I am back today to share another card from the Penguin Palace Fall/ Winter release!  I made this card using the new Let's meet IRL stamps and dies. 

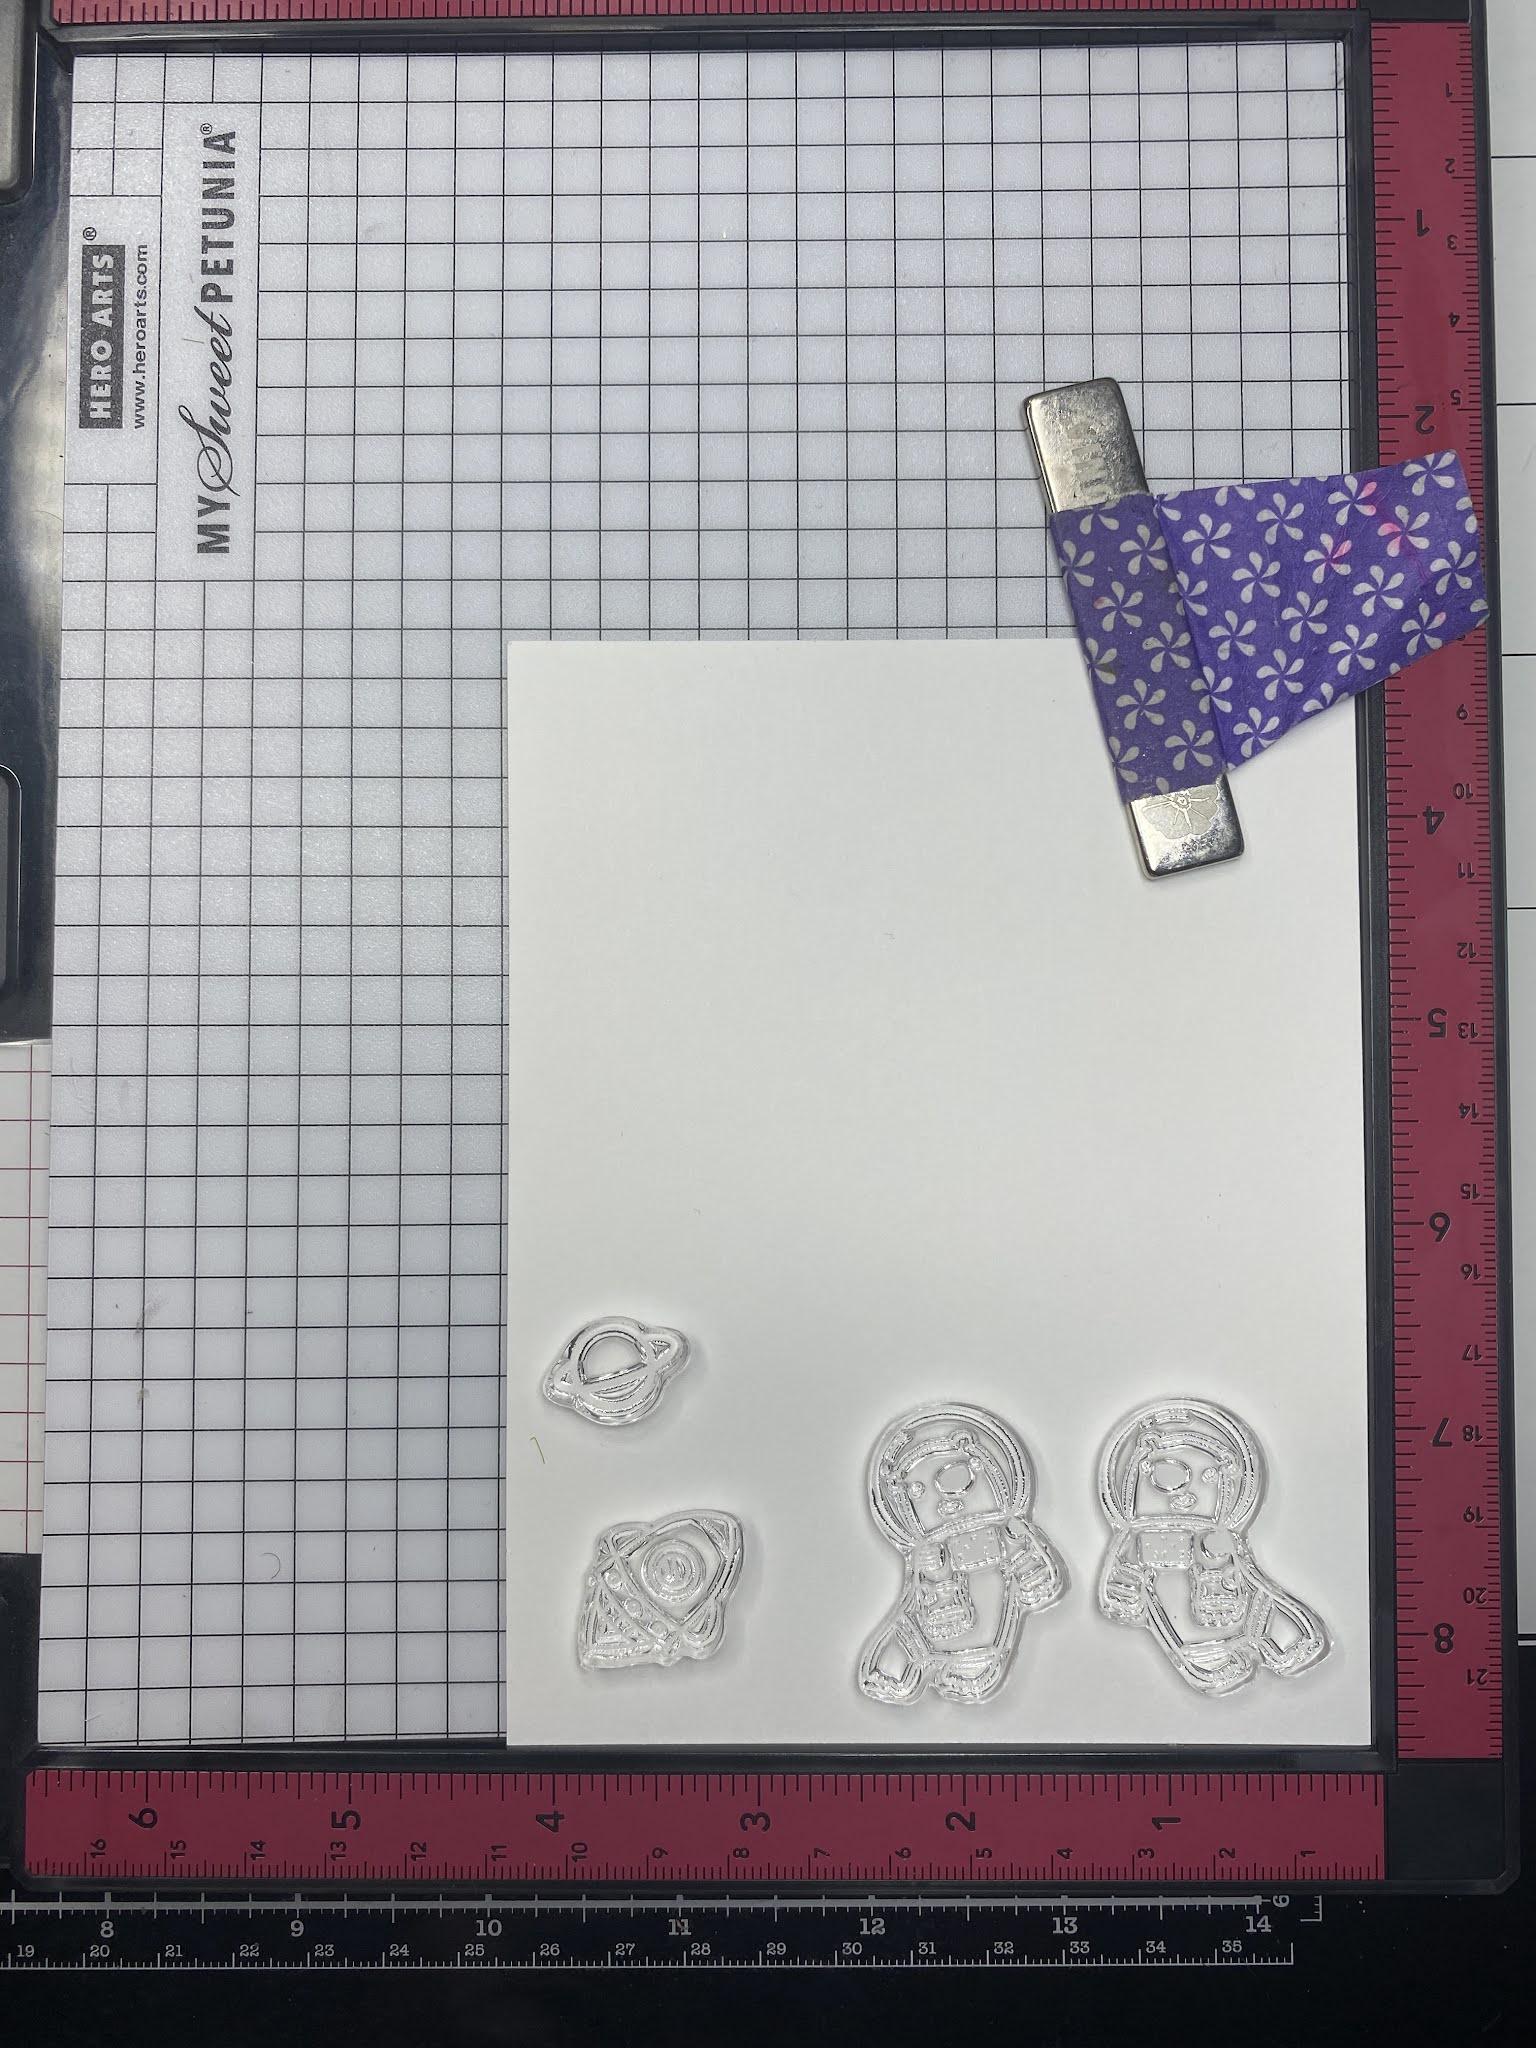
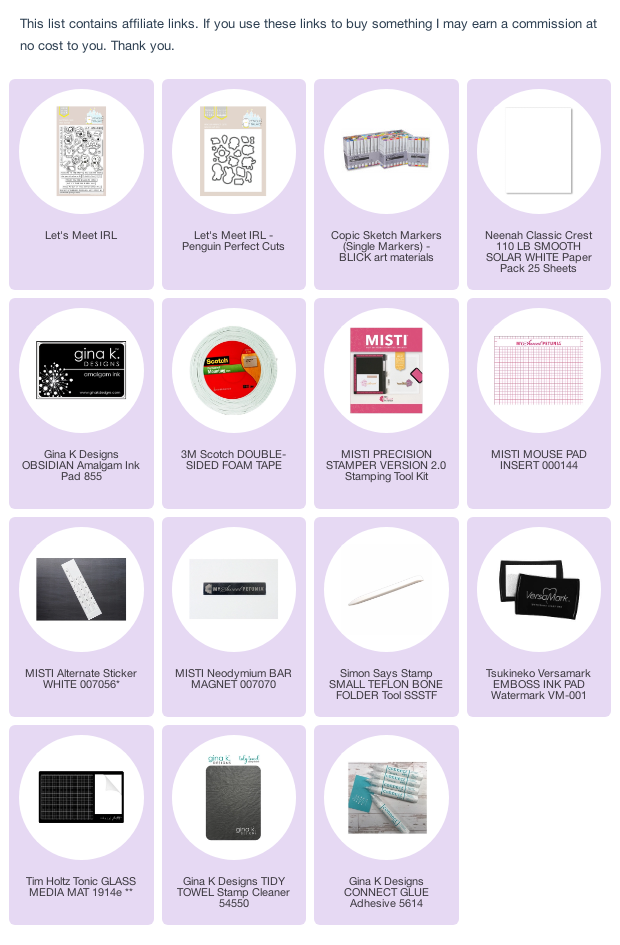
First I took the images that I wanted to use and stamped them with my MISTI onto some 110# Neenah solar white cardstock with my Gina K Obsidian ink ( It is copic friendly). 


Next I coloured up the images with my Copic markers.

Bears: C1, C3, 0

Space suit: R27, R29, N0

Spaceship: BG13, BG09, BG49, R27, Y15, YR04, N0 


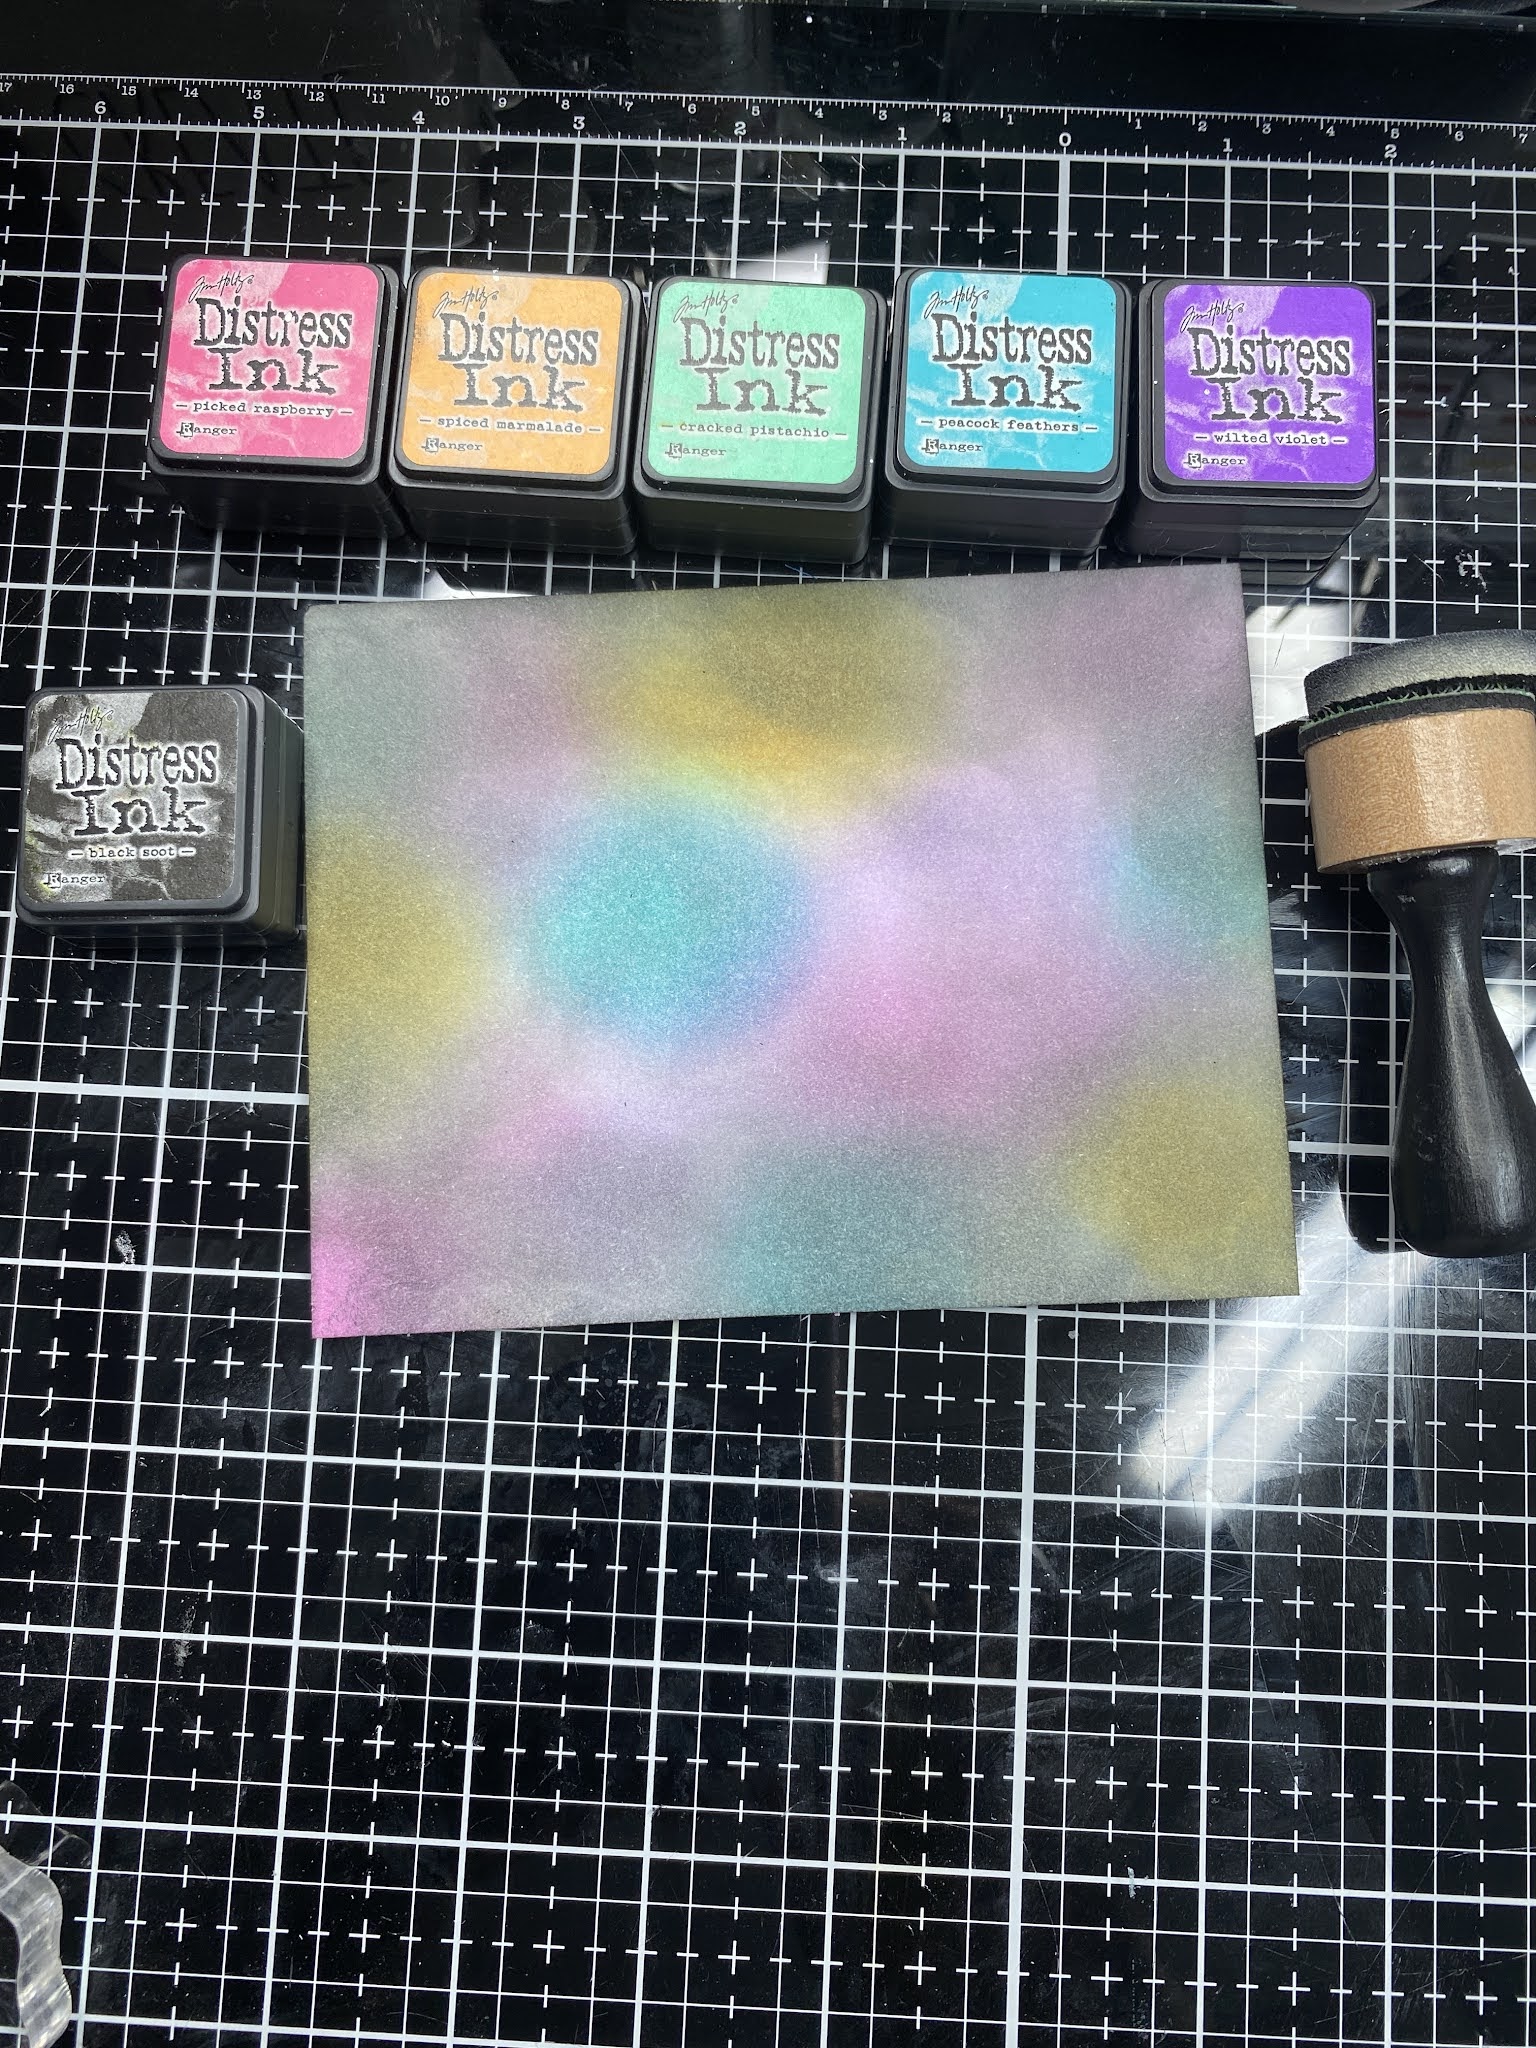
Next I worked on the outer space background. To do that I pulled out my Distress Ink and blended the background. 


Then I added some Black soot distress in over the entire panel. 


Then I sprayed some water over the panel and let it sit for a couple of minutes and then used some paper towel to lift the excess water off.


Then I splattered some white acrylic paint to add more dimension.

I adhered the copic coloured images to my outer space panel and adhered it to a card base of Neenah 110# cardstock.

I added a few gems and that is it! 


 Thank you for stopping by my blog today!


To get your own stamps and dies from this new collection you can preorder them now!

Get crafty! 


It's the most wonderful time of the year!


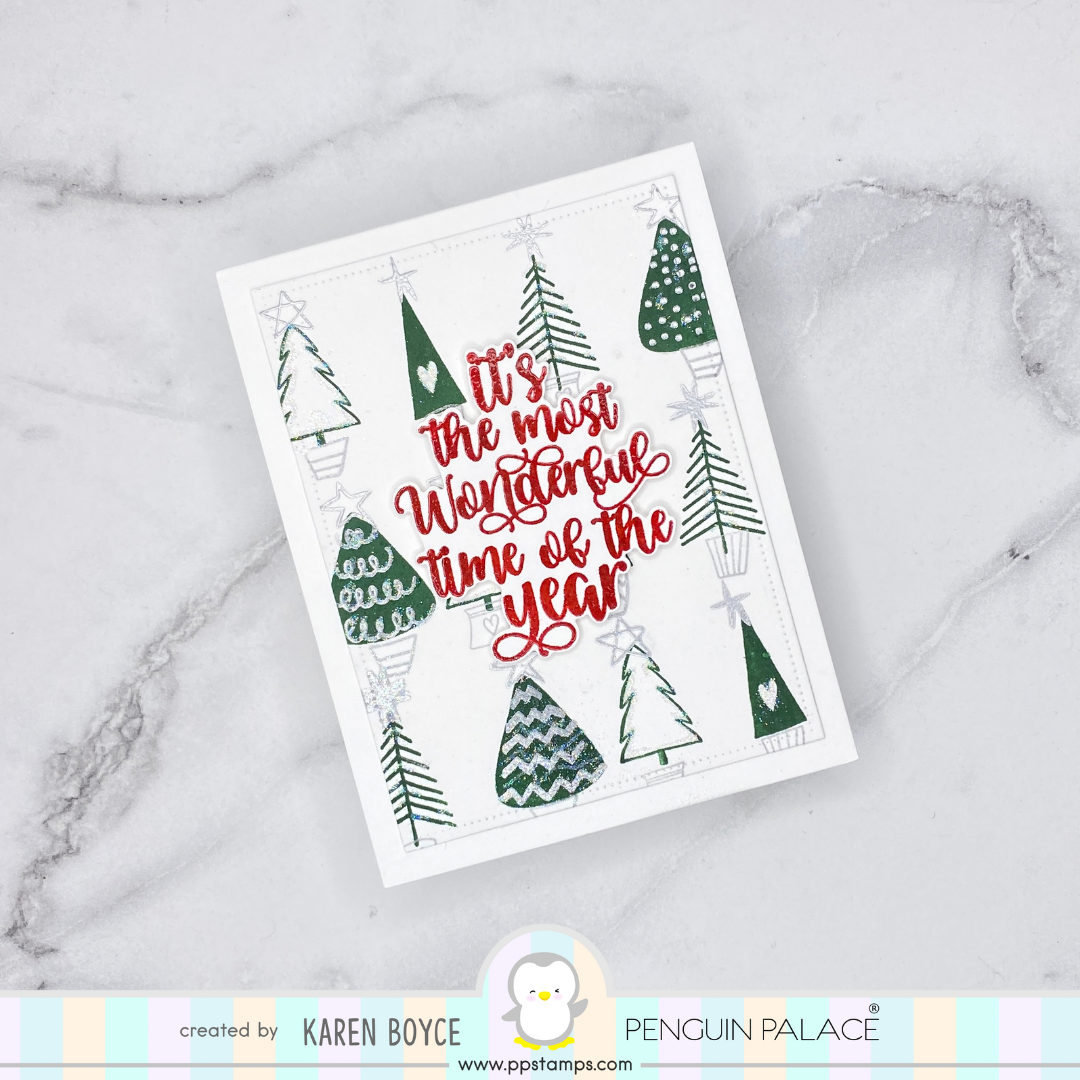
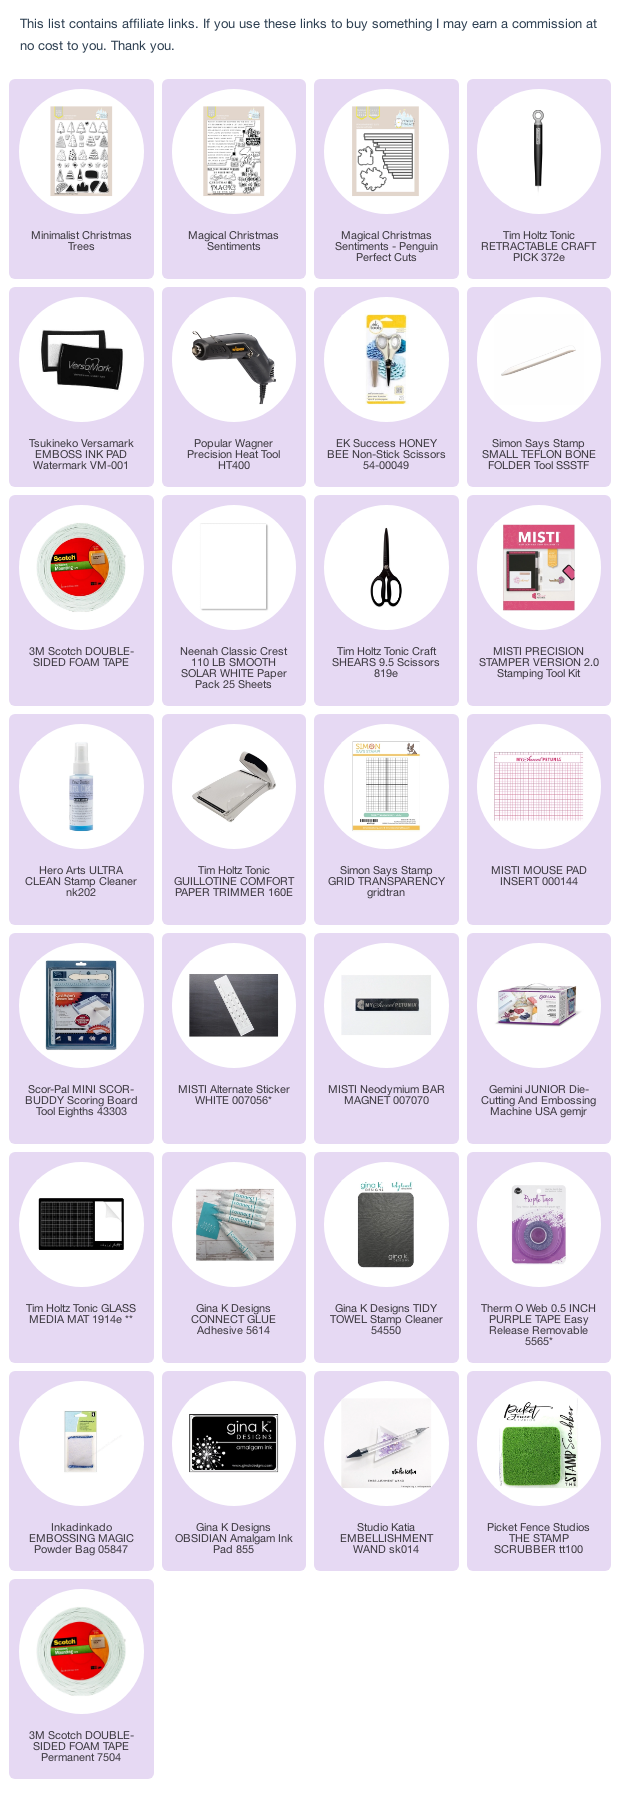
Hi Everyone! Today I am excited to be joining the Penguin Palace design team just in time to share the new Fall/ Winter release! Here is a card that I made using the new Penguin Palace Minimalist Christmas Trees stamps and the Magical Christmas stamps and dies.


First I arranged the tree stamps that I wanted to include on this card. Then I used some green ink and repositioned the paper to arrange the trees on the subsequent rows. Then I added the stamps that add designs to the trees using some Versamark ink and used some silver embossing powder and heated it until smooth. I repeated the steps with the stars and then used silver ink to stamp the pots.  


Next I stamped my sentiment with red ink and added some clear embossing powder to make the sentiment shine. I cut the sentiment out using the coordinating die.


I added some fine glitter by using my quickie glue pen and that is it!
Thank you for stopping by my blog today!

To get your own stamps and dies from this new collection you can preorder them now!

Happy Crafting!