Showing posts with label encouragement. Show all posts

Simon Says Stamp Out of This World Release!


Hi Everyone! It's release time at Simon Says Stamp

The Simon Says Stamp Out of This World release is now available! Today I used the new Anenome Cluster embossing folder and dies.


Be sure to folllow #SSSOutofThisWorld hashtag to see all of the awesome inspiration for all the new products in this release from all of the wonderful designers!   Happy Crafting!  


 #SSSOutofThisWorld #simonsaysstamp #SSSendACard  #SSSUnitedWeCraft #cardmaking #papercrafting #cardmakers #cardmakingsupplies #cardmaker #handmadecards

#craftyfun


Thank you for stopping by today!  
Out of This World Release  CLICK HERE!


Simon Says Stamp Beautiful Days Release!


Hi Everyone! It's release time at Simon Says Stamp

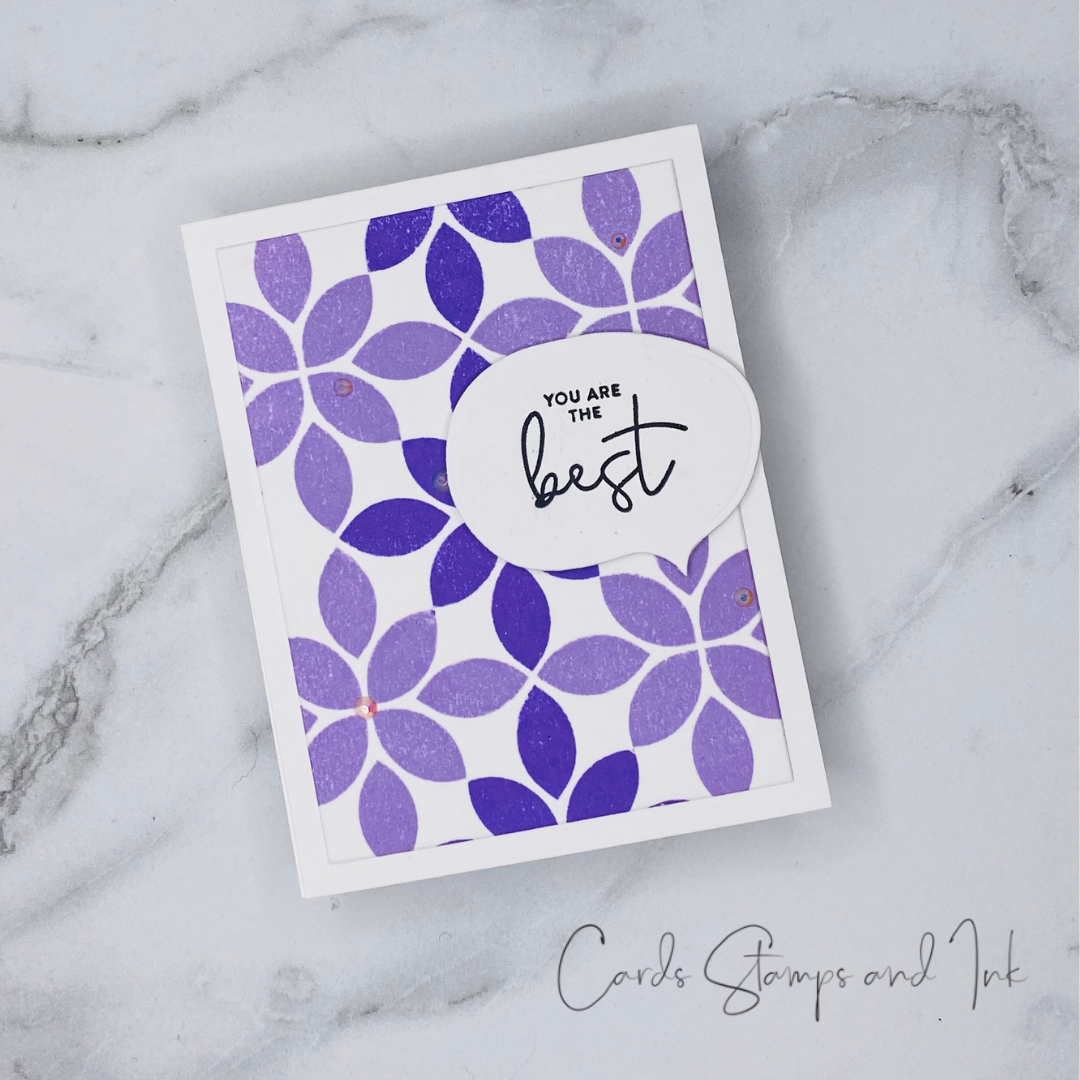
The Simon Says Stamp Just for You release is now available! Today I used the new Geo Leaf Background stamp. 


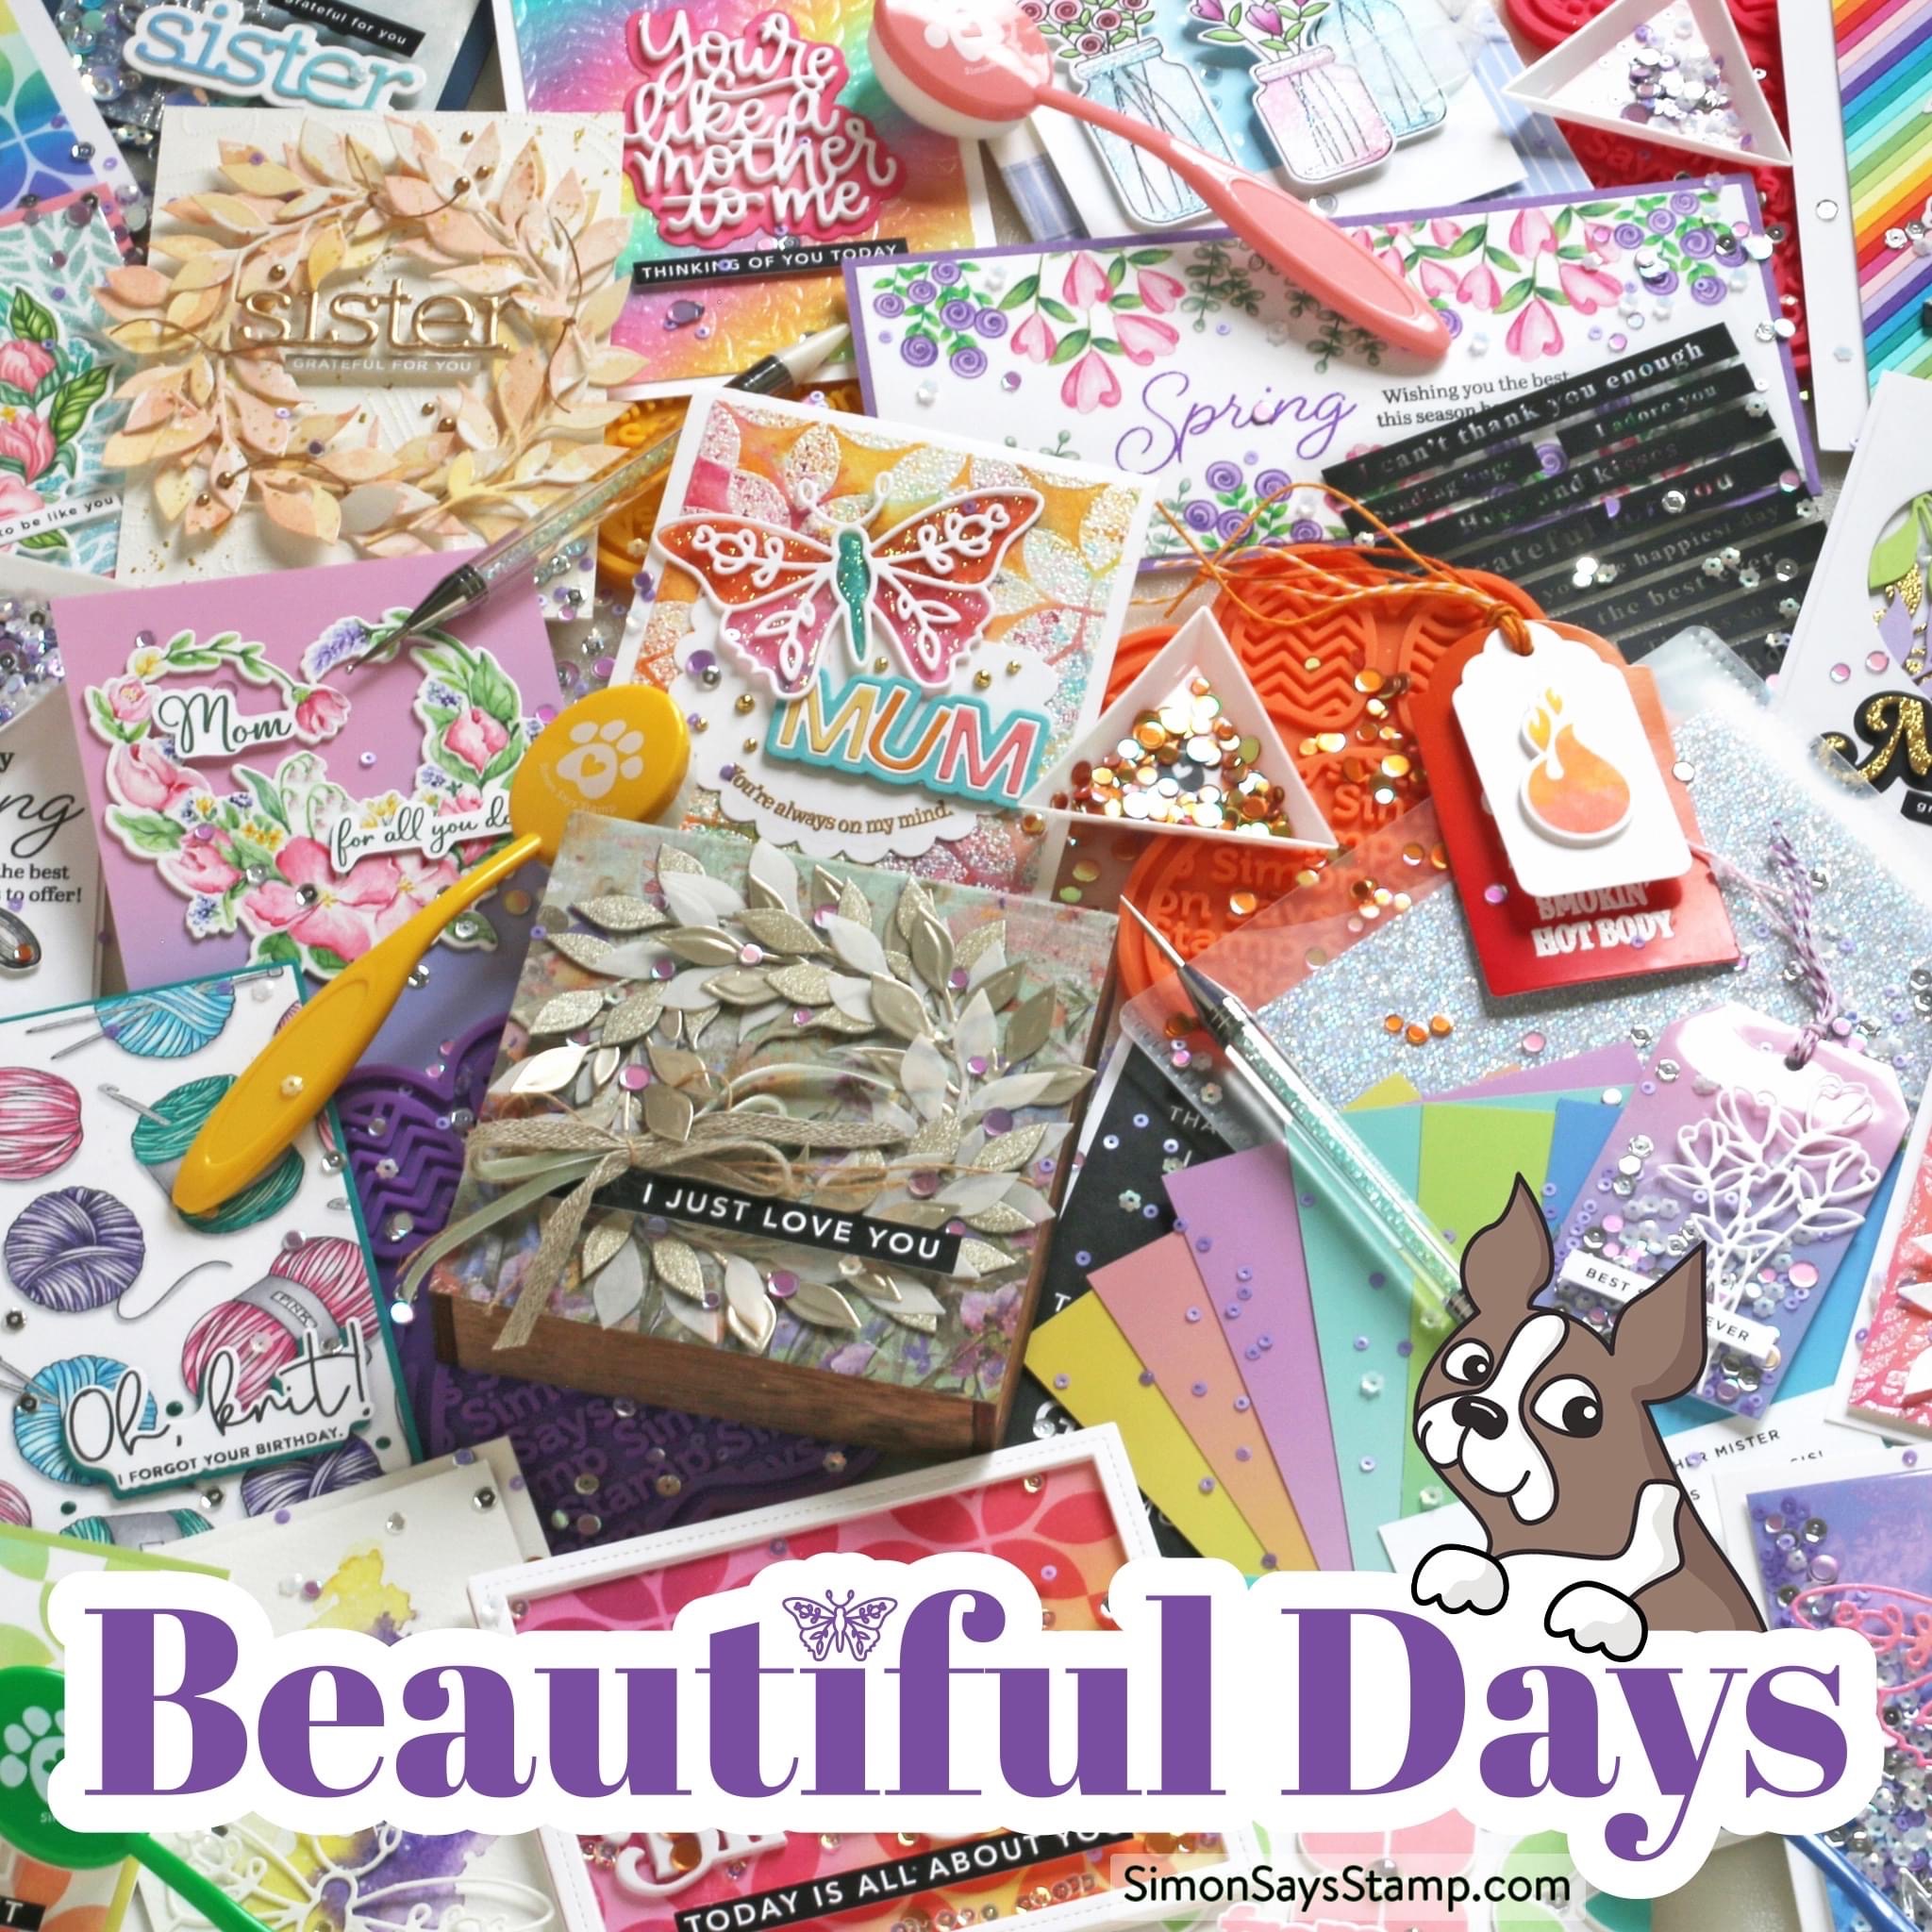
Be sure to folllow #SSSBeautifulDays hashtag to see all of the awesome inspiration for all the new products in this release from all of the wonderful designers!   Happy Crafting!  


 #SSSBeautifulDays #simonsaysstamp #SSSendACard  #SSSUnitedWeCraft #cardmaking #papercrafting #cardmakers #cardmakingsupplies #cardmaker #handmadecards

#craftyfun


Thank you for stopping by today!  

To see the whole Simon Says Stamp Beautiful Days Release  CLICK HERE!


Three Room Studio Saturday Challenge: Anything Goes!


Hi Everyone!  Welcome to the Three Room Studio Saturday Challenge!

 I am your host for the challenge today! The theme is Anything Goes!


For the challenge today I used the Aww Thanks Stamps and dies and the Heart Ray Quarter Stencil! 


Be sure to check out some of our fellow designers for today's challenge:


Susan @creatingwithsusan
Marilyn @onestampingfool


Thanks for checking out our talented designers!


Rules for our Challenge:

1.  Please mention the Three Room Studio Saturday Challenge in your post and provide a link so that others can join our challenge too.

2.  Please link to your blog post and NOT your entire blog.

3.  Your project must be new - no back links please.  Only ONE entry per challenge.

4.  The challenge will close at midnight GMT/7:00 pm Eastern Time on Fridays.


5.  You may combine this challenge with other challenges.


6.  Please turn off word verification so that we may comment on your card more easily. We realize a lot of you use it for safety reasons. We will do our best to leave comments for each of our challenge participants, however, trying to figure out those letters and numbers can be very frustrating! We strongly suggest using comment moderation as a friendlier alternative.

7.  Colour challenges - you must use all the colours specified in the challenge. As well as the challenge colours, you can usually use neutrals - white, black, grey, cream and small amounts of brown, but no other colours at all. The host for the challenge may sometimes give different requirements, so please check each post.

8.  Sketch challenges - you can flip or spin the sketch, and change the proportions and shapes, as long as we can still see the basic sketch in your card. Again, the host may sometimes give different requirements, so please check each post.

We would LOVE for you to play along with our Three Room Studio stamps and products but you are more than welcome to use other companies to participate.

OUR PRIZE:  One lucky participant per month will be WIN a $15 gift certificate to the Three Room Studio shop!

Please link your entry below:


Simon Says Stamp Exclusive STAMPtember 2022 Blog Party!


Hi Everyone! I'm back today to join in the fun for The Simon Says Stamp STAMPtember 2022 Blog Party! 

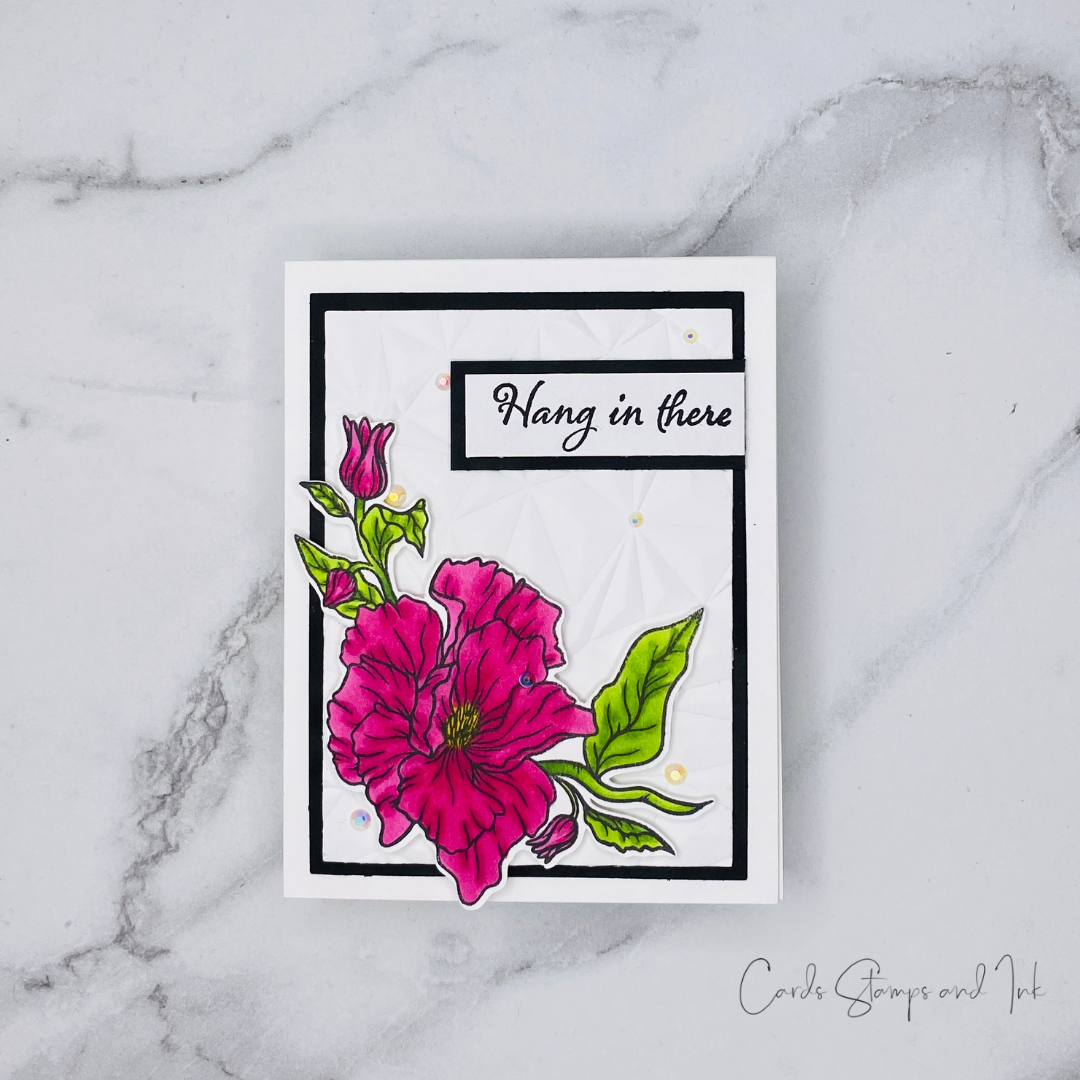
Today I used the new Simon Says Stamp Butterfly Ranunculus stamp set to create this card! 

First took out some 110# Neenah cardstock and stamped the image. Then I coloured it with my Copic markers, cut it and and set it aside. I took another panel of Neenah paper and used tan embossing folder to give my card some interest. I popped up the Ranunculus image up using some foam tape. I cut out a panel of black cardstock to distinguish the embossed panel from the card base and adhered it all together. I stamped the sentiment and used some black cardstock  and adhered it to the card base.  I added a few of the Studio Katia Iridescent gems to the card and that's it! Quick and easy card to make! 


Thanks for stopping by! 

If you have a look at the last image below you can redeem a coupon code for a gift with purchase at Simon Says Stamp! Happy Shopping! :)

 #simonsaysstamp #STAMPtember
 #sssSTAMPtember #SSSendACard #SSSUnitedWeCraft
 #cardmaking #papercrafting #cardmakers  #cardmakingsupplies #cardmaker #handmadecards #craftyfun 

To see the whole Simon Says Stamp STAMPtember release CLICK HERE!


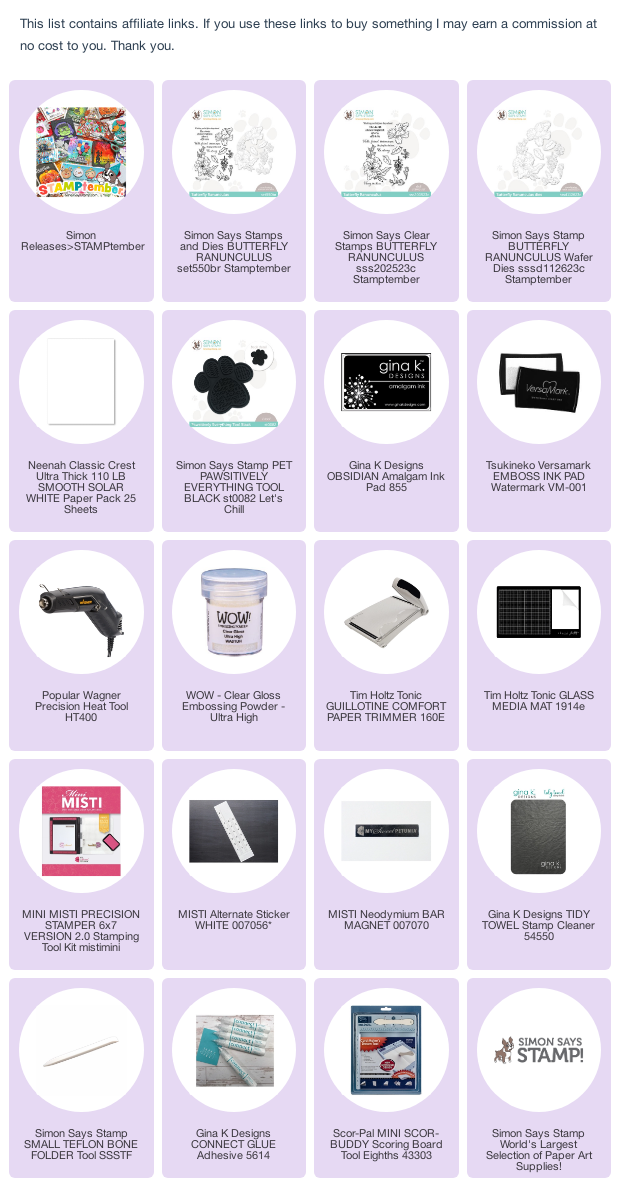
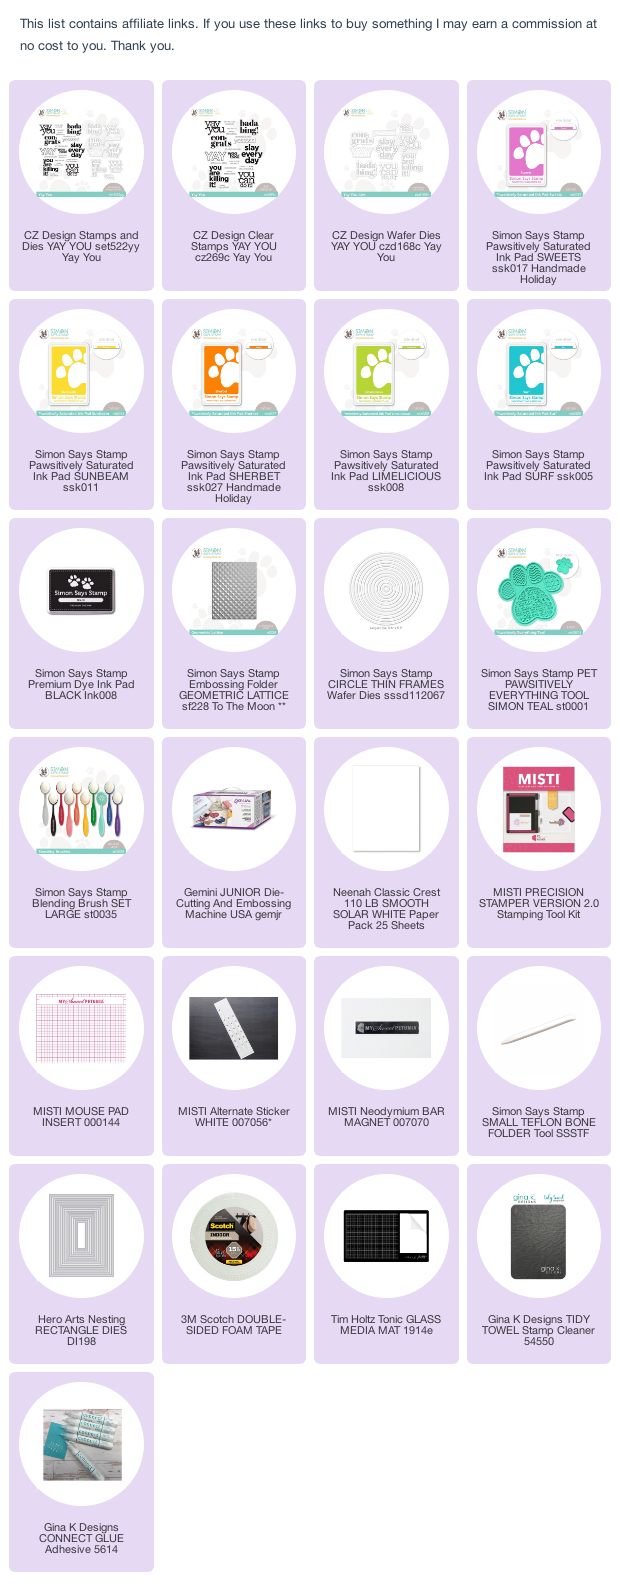
Here are links to the products used:  


Now.....for a bonus! If you do go shopping at Simon use the code below to get a free gift with purchase! 


Penguin Palace Hello There! 2 for 1 Rainbow cards


Hi Everyone! I am back today to share a couple of cards that I made with the Hello There die from Penguin Palace! 

These cards were so easy to make and the best part is getting 2 cards for my effort!


 First I pulled out a piece of watercolor cardstock took out some Daniel Smith Watercolours and painted rainbow coloured stripes across the panel. I set the panel aside to dry ( about 10 minutes) and then used the die to cut the panel. 


As I was about to take the diecut and adhere it to an A2 card base I realized that this would be a great opportunity to make 2 cards! So I adhered  the diecut to an A2 card base and then also adhered the negative die cut panel to another  A2 card base!  After that I added a few gems to each card and  that is all!

Thank you for stopping by my blog today!


To get your own stamps and dies from this new collection you can order them now!

Happy Crafting!

#cardmaking #papercrafting #cardmakers  #cardmakingsupplies #cardmaker #handmadecards #craftyfun


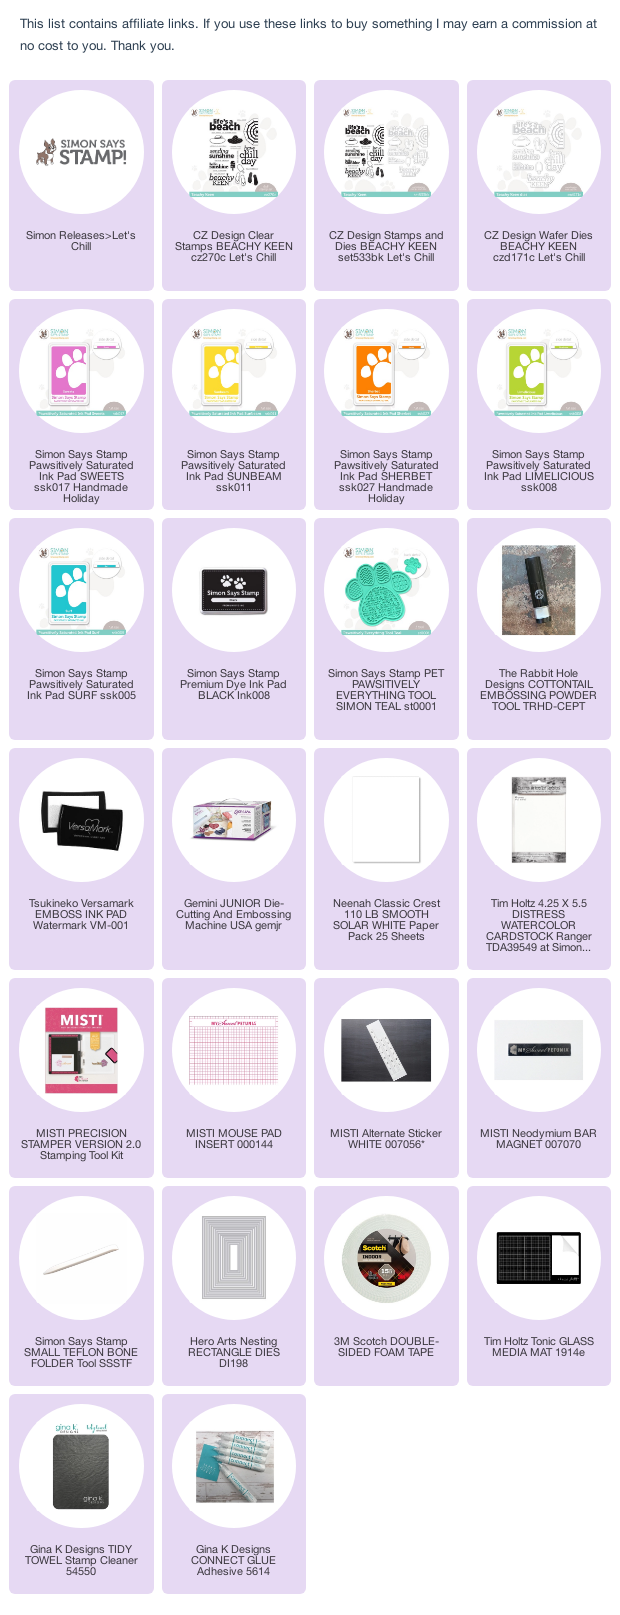
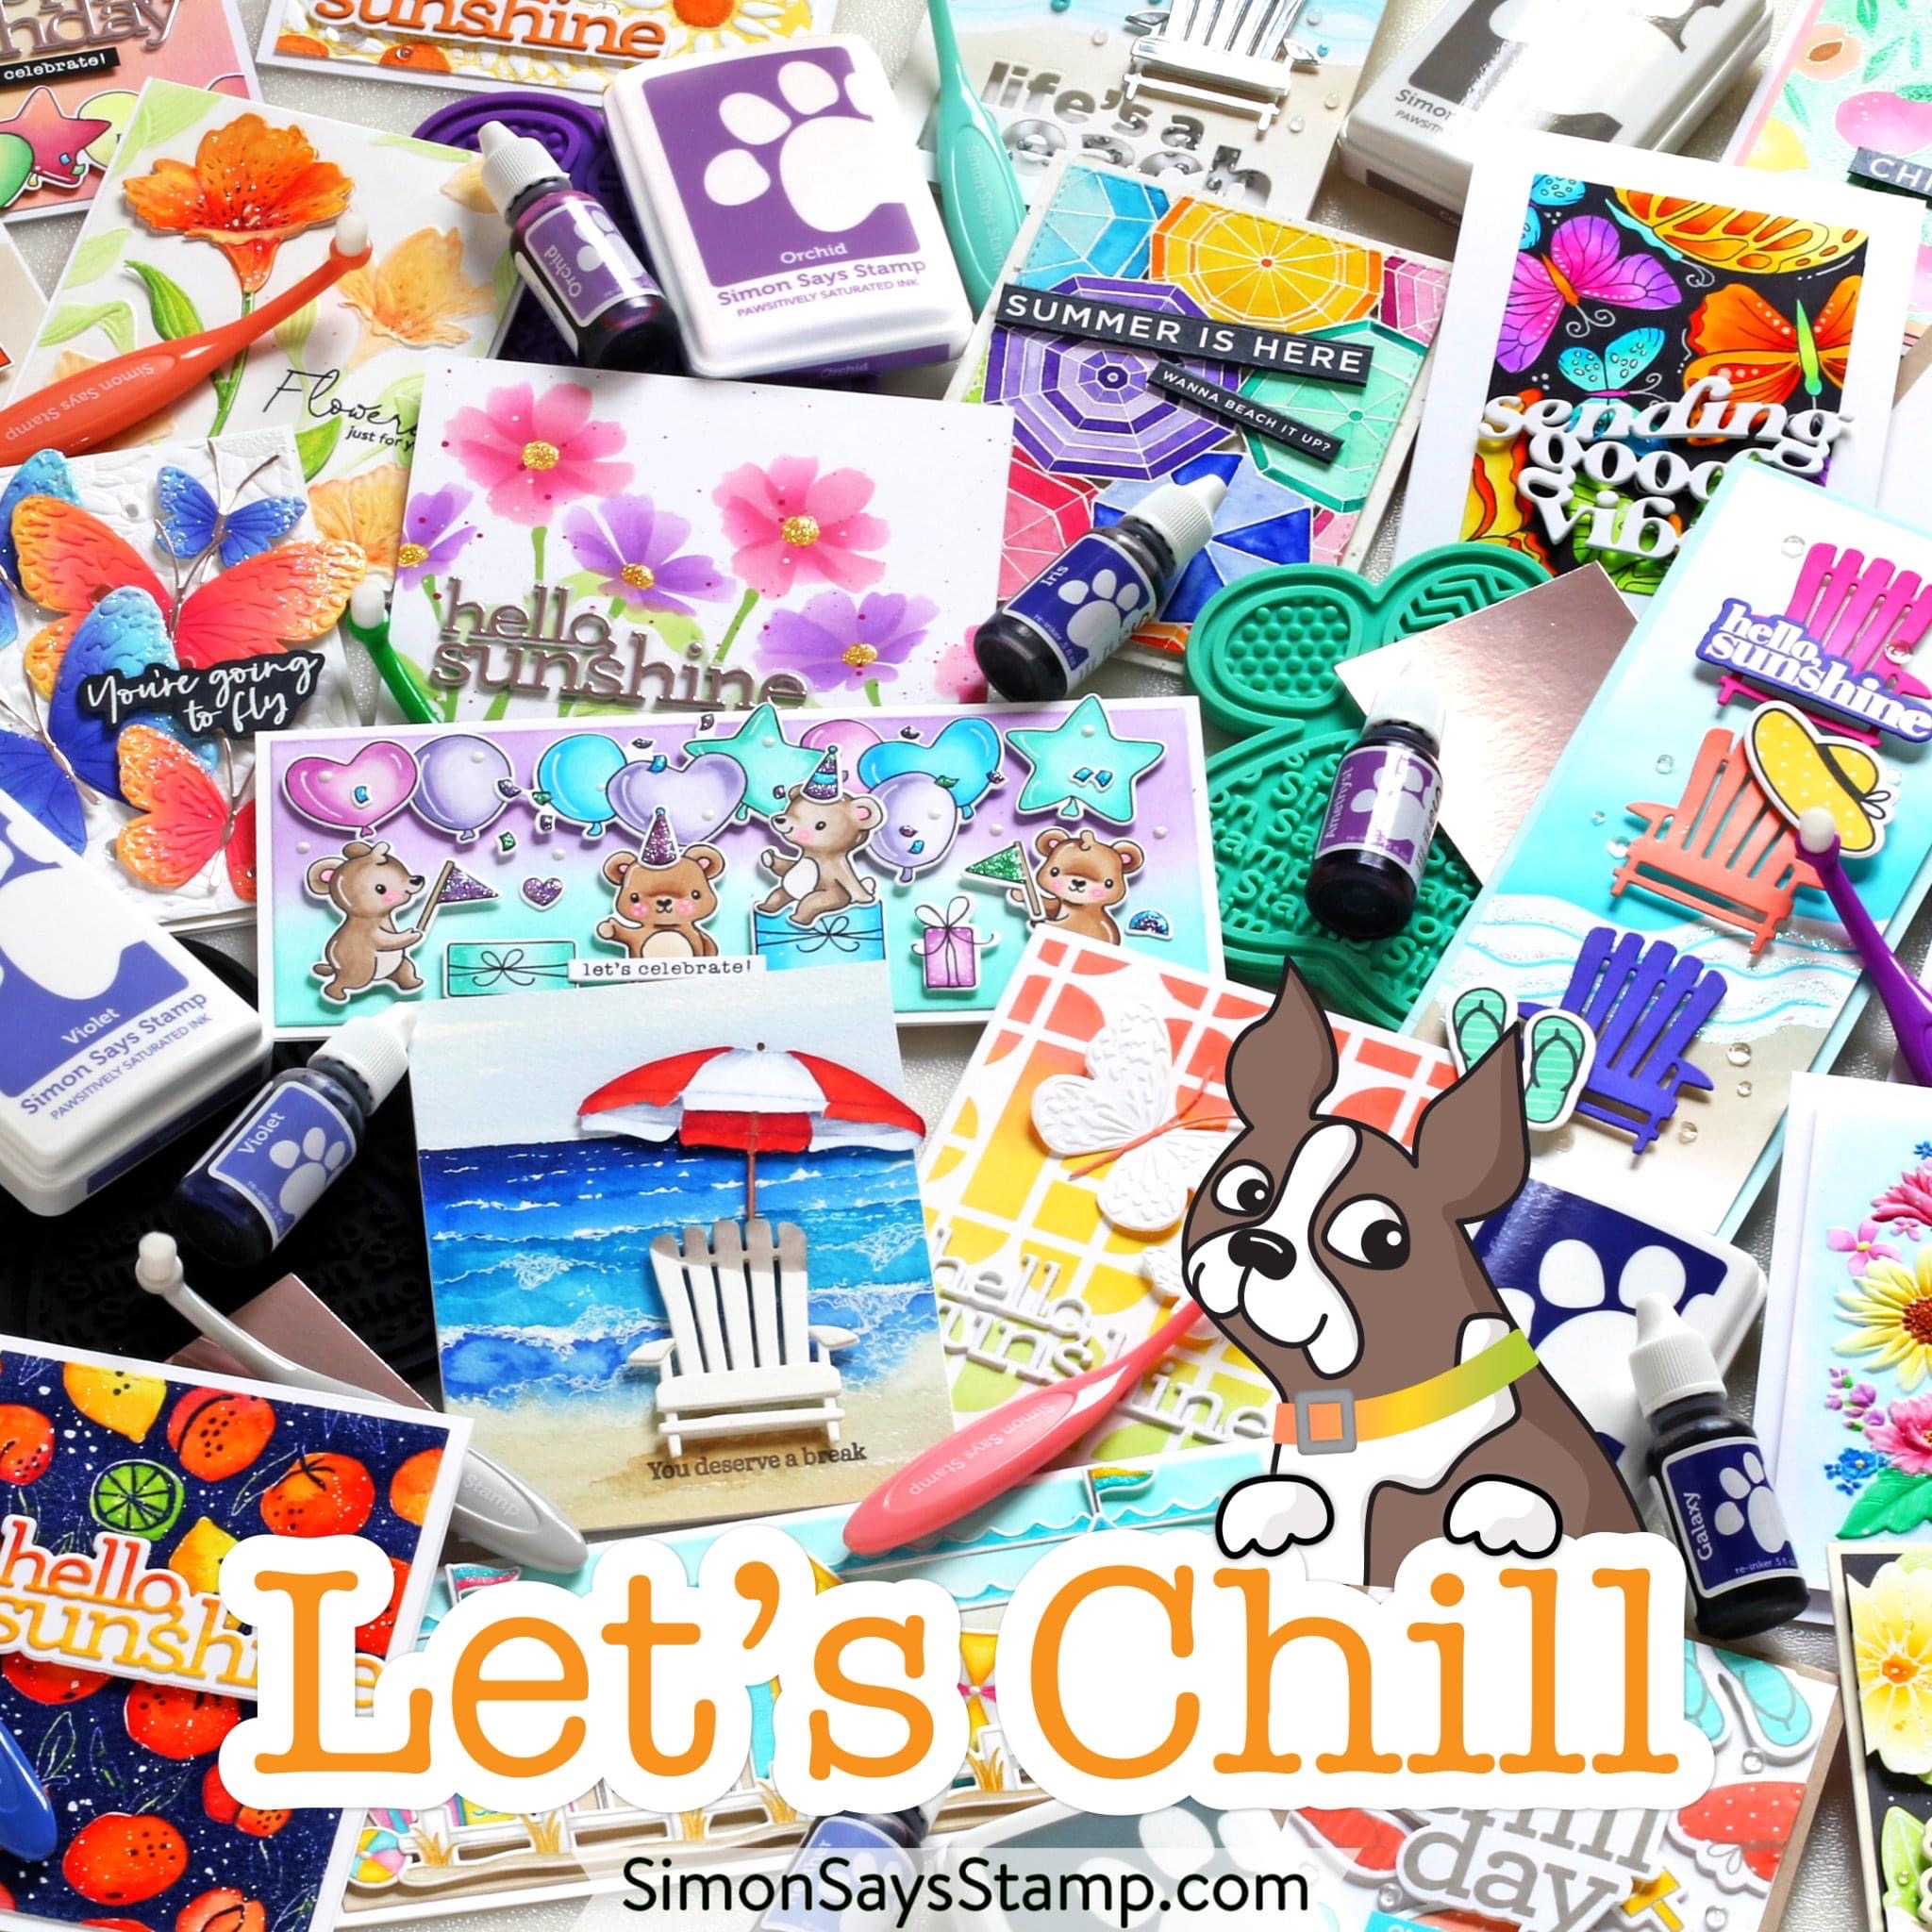
Simon Says Stamp Let's Chill Release!


Hi Everyone! It's release time at Simon Says Stamp

Today I have two cards to share with you that I made using the new Simon Says Stamp Beach Keen stamp set!

For the Have a Chill Day card I stamped that sentiment from the stamp set with some black ink on a panel slightly smaller than A2. Next I pulled a selection of Simon inks and stamped the popsicles in fun colours in a wreath style around the sentiment. I adhered the panel to an A2 card base and then added a few gems and that is it!  


For my second card I stamped the sun umbrella image on a panel of watercolour paper that is a bit smaller than A2. Then I smooshed some Simon Inks on my Glass mat and used some water and my paint brushes to pick up the ink. I coloured in the images. Next adhered the panel to an A2 card base and added a few gems! That's all! 
Thank you for stopping by today! 

 #simonsaysstamp
#cardmaking #papercrafting #cardmakers  #cardmakingsupplies #cardmaker #handmadecards #craftyfun 

To see the whole Simon Says Stamp Let's Chill  Release  CLICK HERE!


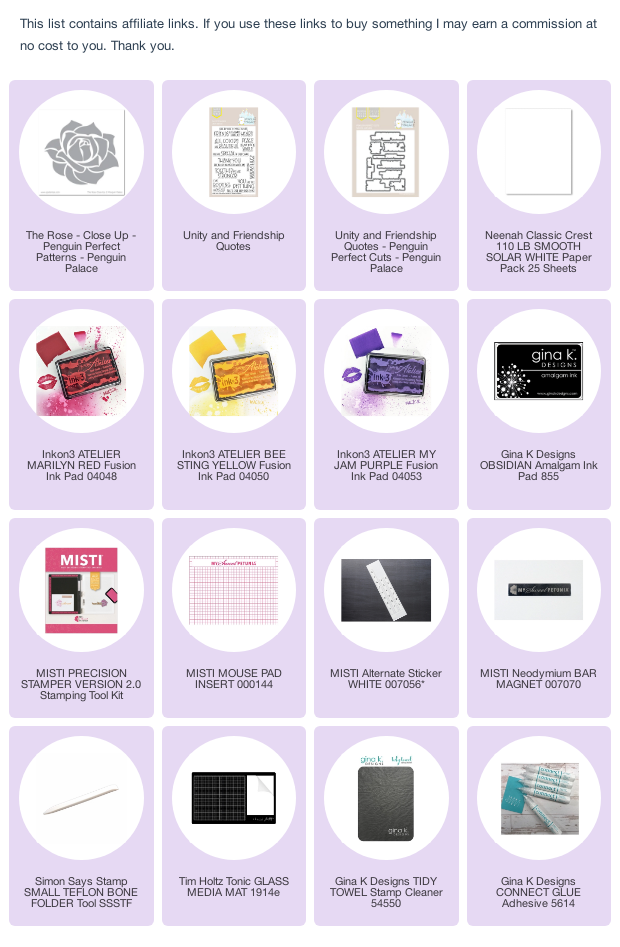
Penguin Palace The Rose Close Up


Hi Everyone! I am back today to share another card made with the new release from Penguin Palace!  Today's card features the Penguin Palace The Rose Close Up stencil! 


This card was so fun and easy to do! First I pulled out a piece of cardstock and some of my Ink on 3 inks. I ink blended them in random spaces  on the petals. The only part that was intentional was the yellow as I wanted to place at the tips of the petals.


Once I finished the ink blending I added a sentiment from the Unity and Friendship quotes stamp and die set. I popped it up with some foam tape and adhered it to the card.


I added a few gems and  that is all!

Thank you for stopping by my blog today!


To get your own stamps and dies from this new collection you can order them now!

Happy Crafting!

#cardmaking #papercrafting #cardmakers  #cardmakingsupplies #cardmaker #handmadecards #craftyfun


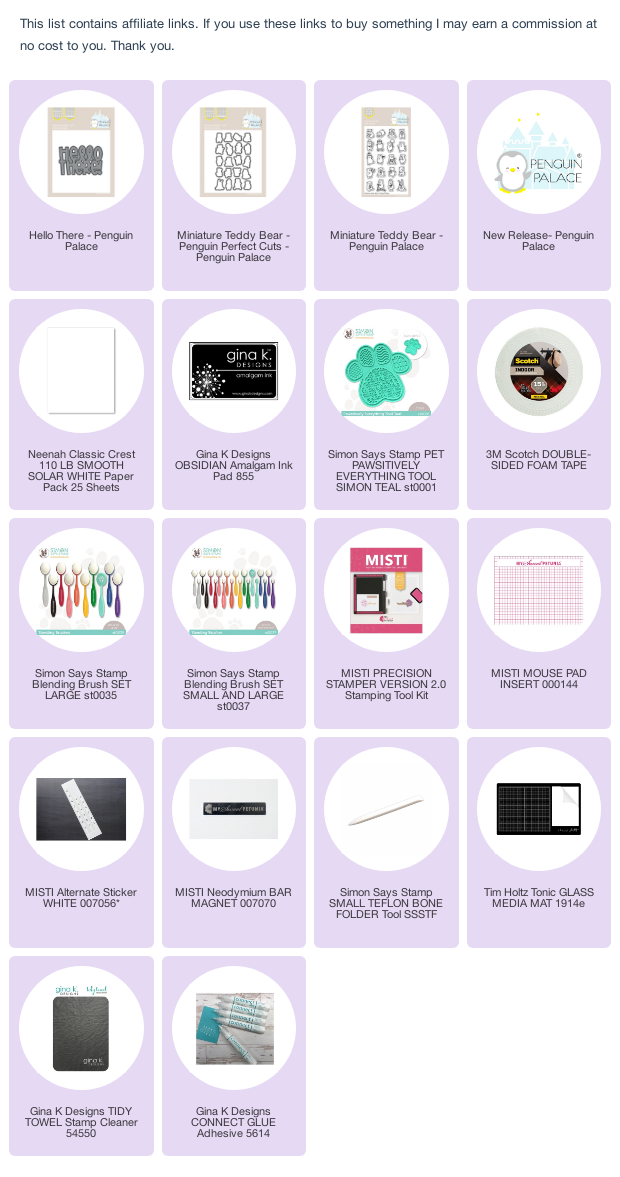
Hello There! New from Penguin Palace stamps!


Hi Everyone! I am back today to share another card made with the new release from Penguin Palace! Here is a card that I made using the new Penguin Palace Miniature Teddy Bear Stamp set!


There are so many bears in this set which are perfect for many occasions! 

For this card I chose 2 of the bears and coloured them using my Copic markers.


Next I diecut a piece of cardstock with the new Hello There die!
I smooshed some of the ink on my Tim Holtz glass mat and spritzed it with water.
I smooshed the diecut into the ink and let it dry.


Then I diecut a couple more of the diecuts in white cardstock and adhered them to the ink smooshed diecut and adhered it to an A2 Card base. 
Then i popped up the two bears in place with my 3M 3D foam tape. I added a few gems and then splattered some green ink. 

That's it   

Thank you for stopping by my blog today!


To get your own stamps and dies from this new collection you can order them now!

Happy Crafting!

#cardmaking #papercrafting #cardmakers  #cardmakingsupplies #cardmaker #handmadecards #craftyfun

Simon Says Stamp Congrats on your new job!


Hi Everyone! Here is another card that I made using the new Simon Says Stamp Yay You stamp set!


Thank you for stopping by today! 

Be sure to come back soon!

Happy Crafting!

 #simonsaysstamp
#cardmaking #papercrafting #cardmakers  #cardmakingsupplies #cardmaker #handmadecards #craftyfun 

To see the whole Simon Says Stamp Yay You  Release  CLICK HERE!
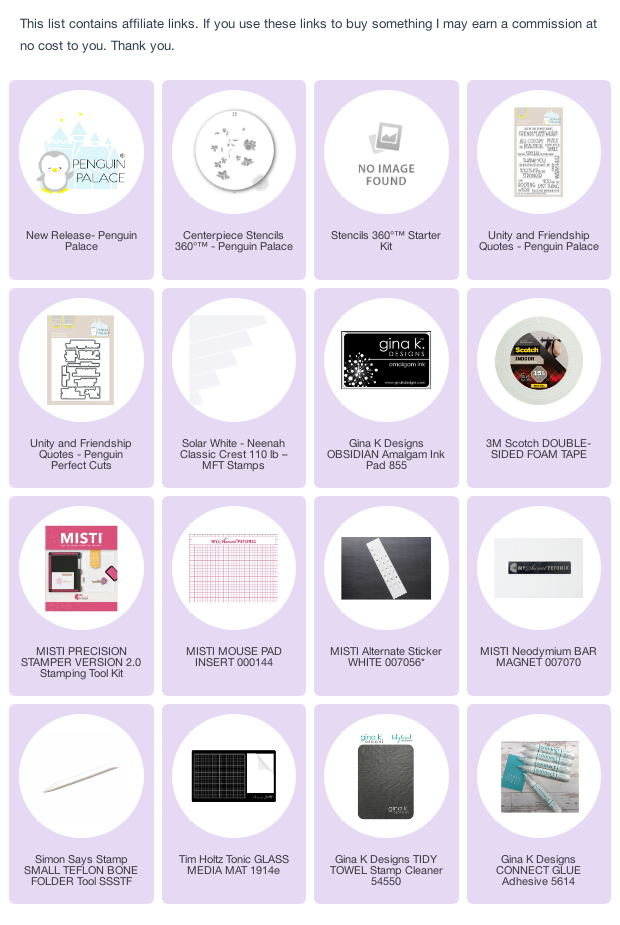
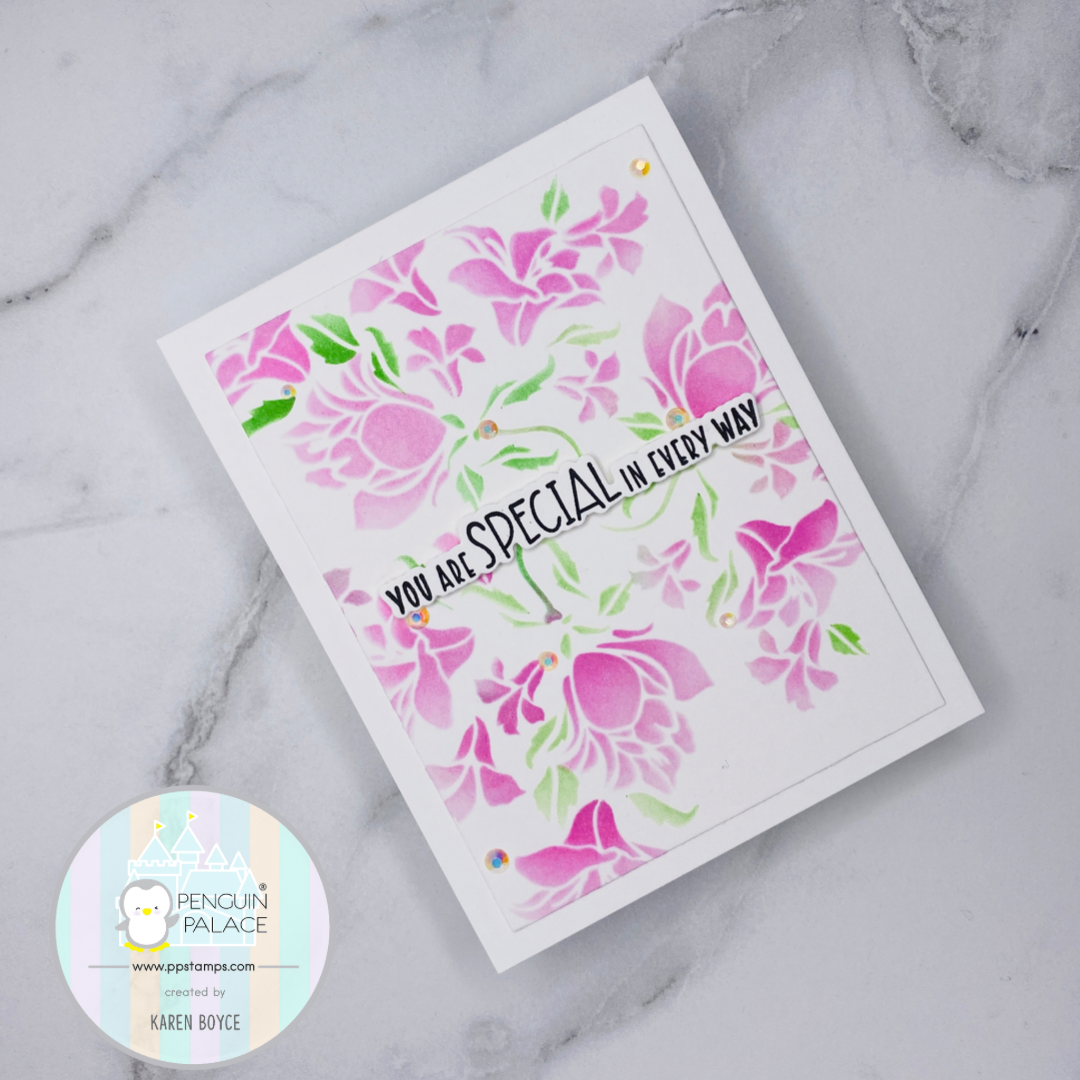
Centerpiece Stencils 360! NEW Penguin Palace Release!


Hi Everyone! I am back today to share another card made with the new release from Penguin Palace! Here is a card that I made using the new Penguin Palace Centerpiece Stencils 360! 


Have you tried the Penguin Palace Stencils 360 yet?
It is so fun and easy to do! Would you believe that to make this panel I never lifted the stencil from the paper once???  


To make this card I used an A2 panel of Neenah card stock and positioned it in the Stencil 360 guides. Next I pulled out the brand new Centerpiece Stencil 360 and grabbed some pink and some green ink and my ink blending brushes. I followed the instructions on how to rotate the stencil and inked it up after each move.   I cut that panel slightly smaller that A2 and adhered it to an A2 card base. 


Next I stamped the sentiment that I wanted to use and then die cut it out with the coordinating dies.  
I popped up the sentiment on the card  and I added some gems to give it a sparkly touch!  

Thank you for stopping by my blog today!


To get your own stamps and dies from this new collection you can order them now!

Happy Crafting!

#cardmaking #papercrafting #cardmakers  #cardmakingsupplies #cardmaker #handmadecards #craftyfun 

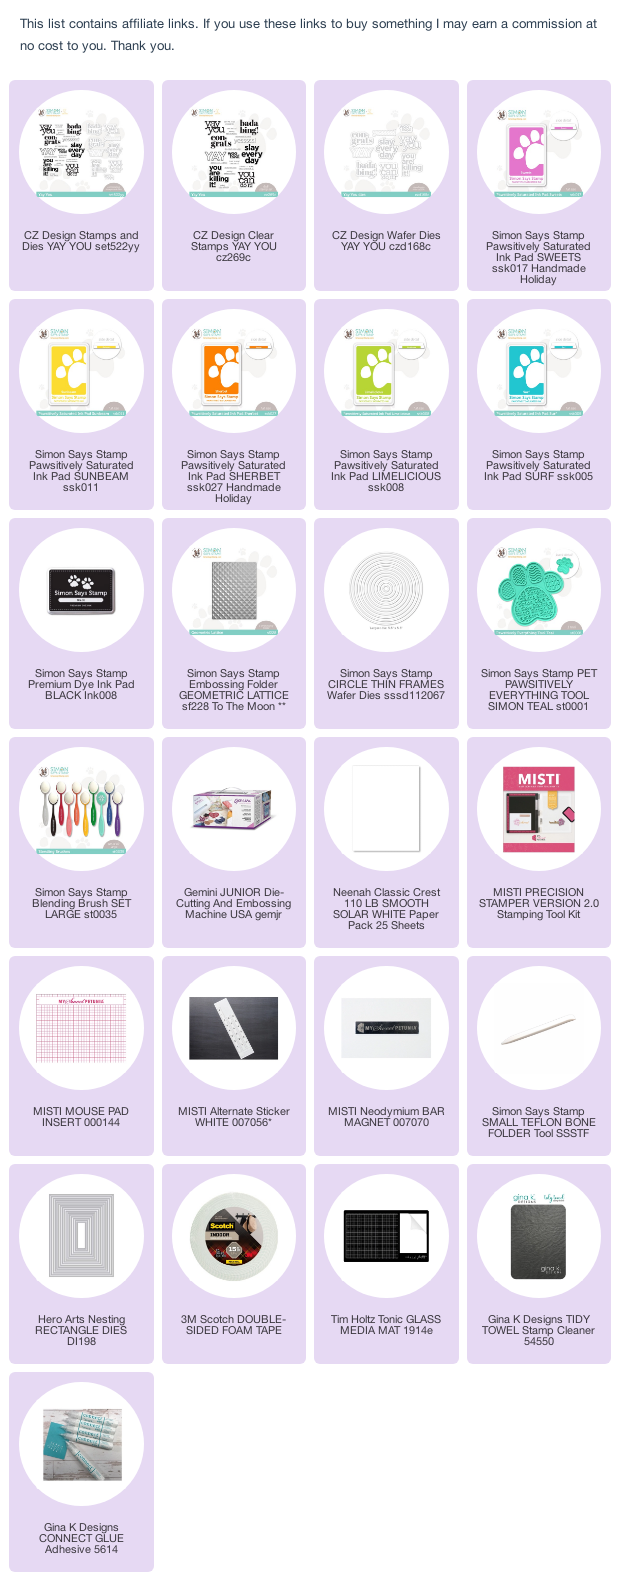
Simon Says Stamp Yay You release!


Hi Everyone! It's time for a new release at Simon Says Stamp

Today I am sharing a card that I made using the new Simon Says Stamp Yay You stamp set!

This set was so much fun to play with! So much encouragement in one stamp set! So many ideas!!!

First I took the Yay You stamp set  and used the Slay Every Day stamp and masked the word every and then inked the rest of the stamp with black ink. 

Next I pulled out some colours that I wanted to use for the word every and put them aside. 

Next I stamped each letter with the ink colour that I chose by masking off only exposing the letter I wanted to ink up.  Next I cut it out with a circle die. 


Next I took a piece of Neenah 110#  cardstock and inked it up with my Sunbeam (yellow) and Blue (surf ink. I cut the Yellow piece out with a circle die and the Blue a bit smaller than A2.

Next I took the Blue panel and put it in the embossing folder and then adhered it to an A2 Neenah card base. 
Then I popped up my Yellow circle with some 3M foam tape and added the sentiment circle to it with some liquid glue.  

 I added a few gems and that is it!

Thank you for stopping by today! 

Be sure to come back soon to see more cards that I made with this set!

Happy Crafting!

 #simonsaysstamp
#cardmaking #papercrafting #cardmakers  #cardmakingsupplies #cardmaker #handmadecards #craftyfun 

To see the whole Simon Says Stamp Yay You  Release  CLICK HERE!


Altenew You are Loved!


Thank you for being a friend!


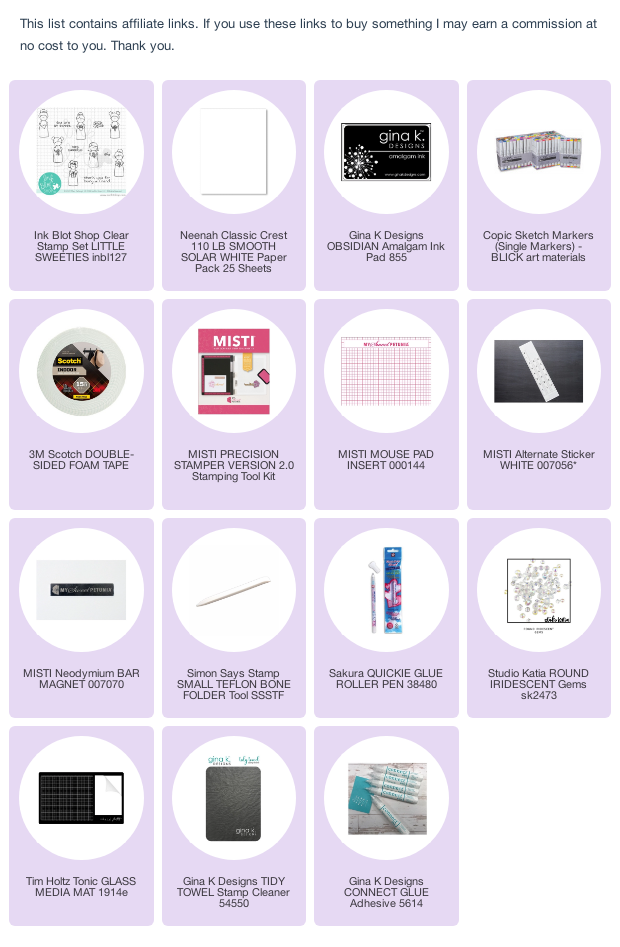
Hi Everyone!   Today I am sharing a card that I made using  the Little Sweeties stamp set from Ink Blot Shop! Isn’t she adorable?


#cardmaking #papercrafting #cardmakers #cardmakingsupplies #cardmaker #stamping #handmadecards #craftyfun

A little something...


Happy Monday Everyone! 

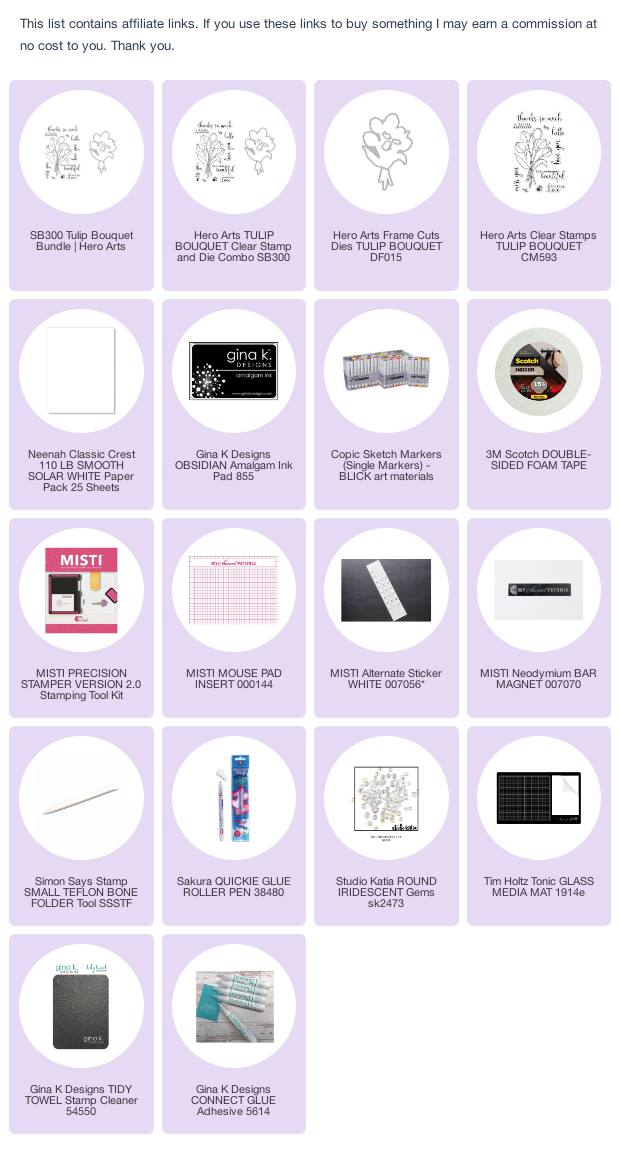
Today I am sharing a card that I made using the Tulip Bouquet stamp and die from Hero Arts!