Hi Everyone! I'm thrilled to share with you a card that I made using a stunning die from Concord & 9th. This project allowed me to explore a range of vibrant inks and showcase a design that's perfect for any love-themed occasion.
Materials Used:
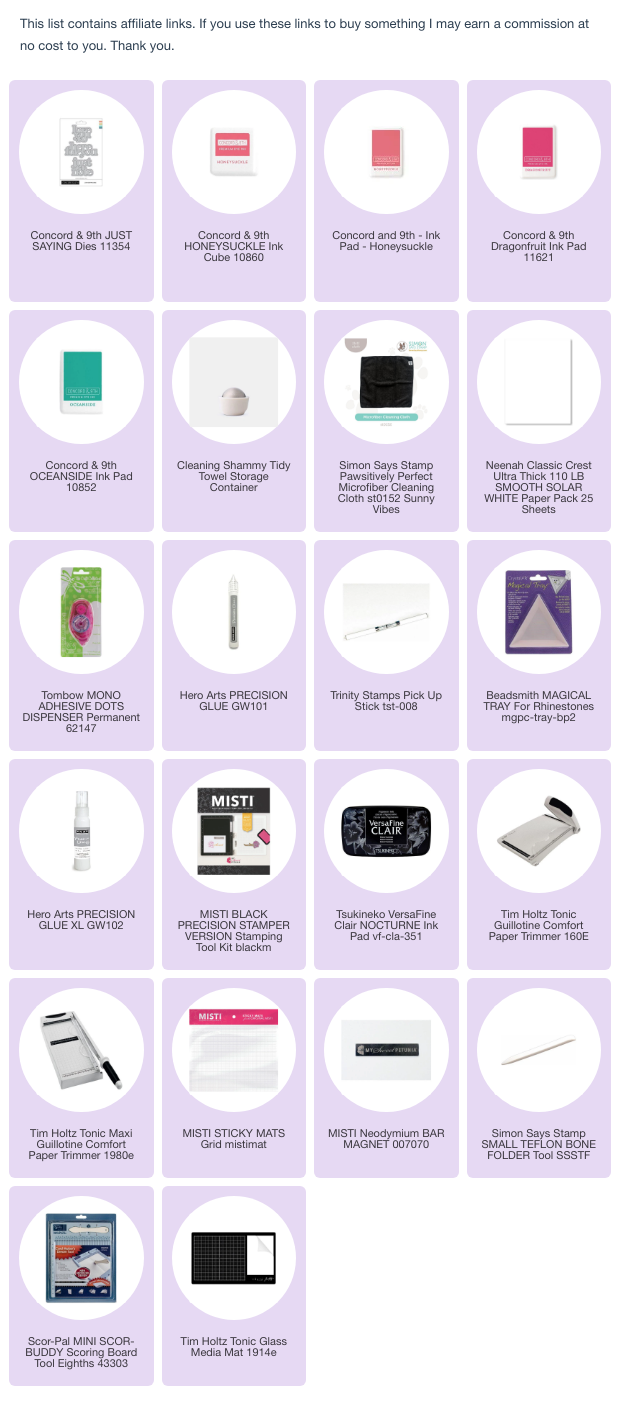
- Die: Concord & 9th's Love you so die from the Just saying dies set
- Inks: Concord and 9th’s Honeysuckle, Dragonfruit, and Oceanside
- Embellishment: Gold ink (for splatter)
- Cardstock: Neenah Classis Crest Solar white cardstock for a clean base and card panel, Vellum for sentiment shadow.
- Tools: Gemini Junior
Process:
- Die Cutting:
- I started by using the Love you so die, which offers a fantastic sentiment to any card and cut it out of some Neenah 110# cardstock. At the same time I cut the sentiment shadow out of some vellum. I ran both dies through my Gemini Junior.
- Inking Technique:
- For the inking, I chose Honeysuckle, Dragonfruit, and Oceanside inks. These shades are not only vibrant but blend beautifully together.
- I smooshed the inks on a card panel, doing my best to ensure a smooth transition between the colours. This method gives the card a lively and refreshing look.
- Next I spattered some gold ink on the panel for some embellishment.
- Assembly:
- I trimmed the panel slightly and then adhered it to the card base. The I adhered the sentiment and shadow together.
- To finish off, I adhered the simple yet heartfelt Love you so sentiment in the centre, which complements the vibrant background perfectly.
This card is a testament to how a few well chosen materials can create something truly special. Whether you're crafting for Valentine's Day, anniversaries, or just because, this design is sure to bring joy to the recipient.
Thank you for stopping by, and happy crafting! If you recreate this design or draw inspiration from it, tag me on social media @cardsstampsandink so I can see your beautiful creations! 🌟