Simon Says Stamp You Are My Favorite Release!


Hi Everyone! It's release time at Simon Says Stamp! 

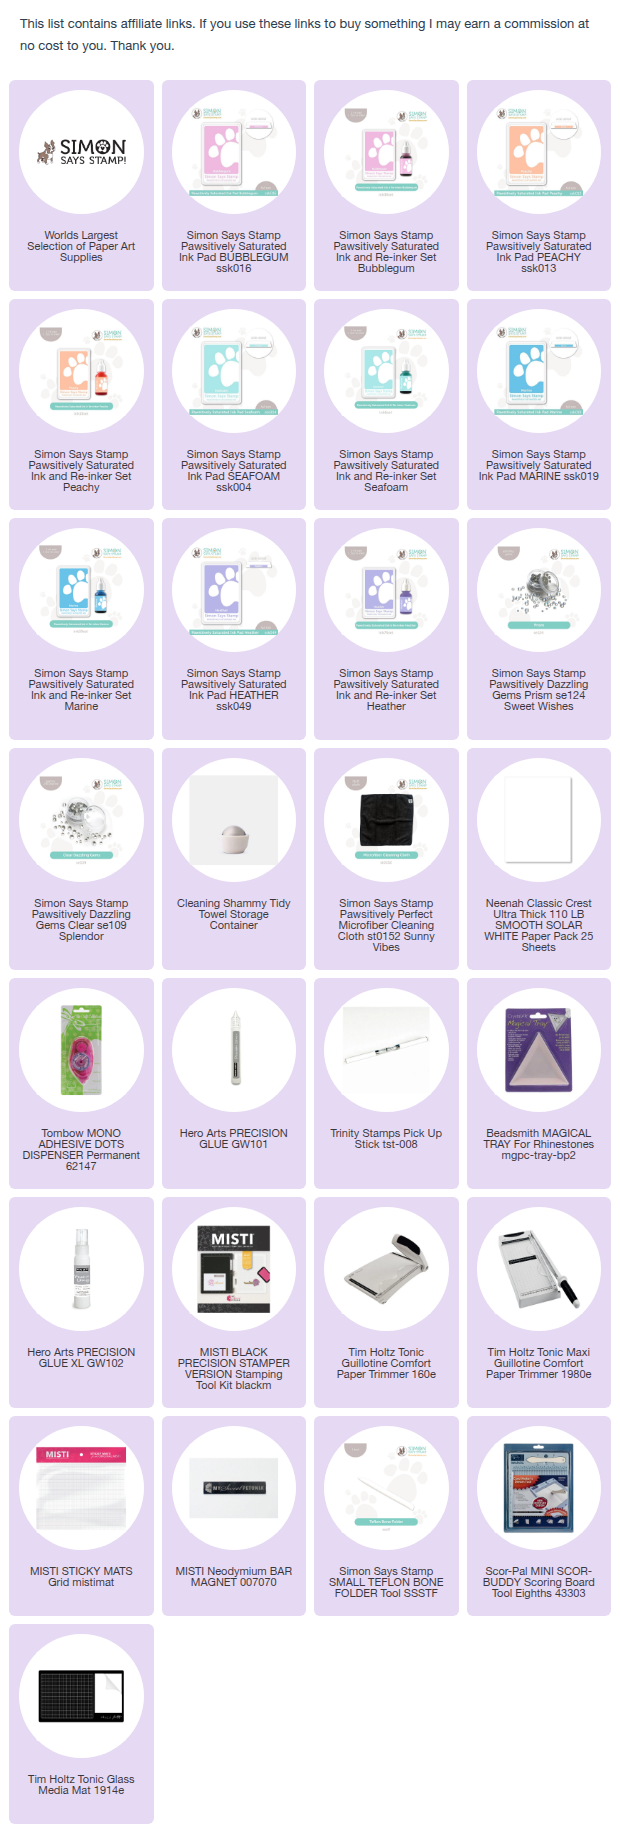
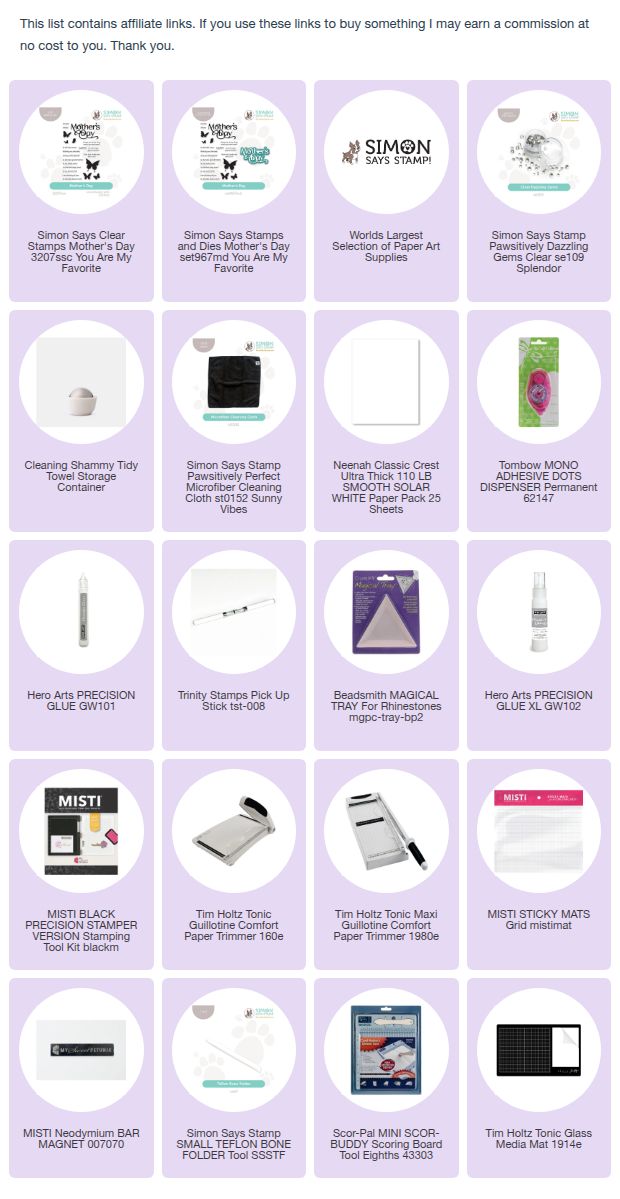
Today I am sharing a card that I made using the new Simon Says Stamp Mother's Day stamp set!

First I took cut down an A2 panel of Neenah Solar White cardstock and put it in my Misti stamping tool. Then I stamped the Happy Mother's Day sentiment. Next I arranged the butterflies and stamped them using the Simon Says Stamp Pawsitively Saturated inks. 

Then I smooshed some ink on another panel to create the pink border for the card panel and adhered it behind the stamped panel.  I added the completed panel to a card base made with 110# Neenah paper and I added a few gems and that is it!

Thank you for stopping by today! 

 #simonsaysstamp
#cardmaking #papercrafting #cardmakers  #cardmakingsupplies #cardmaker #handmadecards #craftyfun 

To see the whole Simon Says Stamp You Are My Favorite Release  CLICK HERE!


Simon Says Stamp Rain or Shine Release!


Hi Everyone! It's release time at Simon Says Stamp

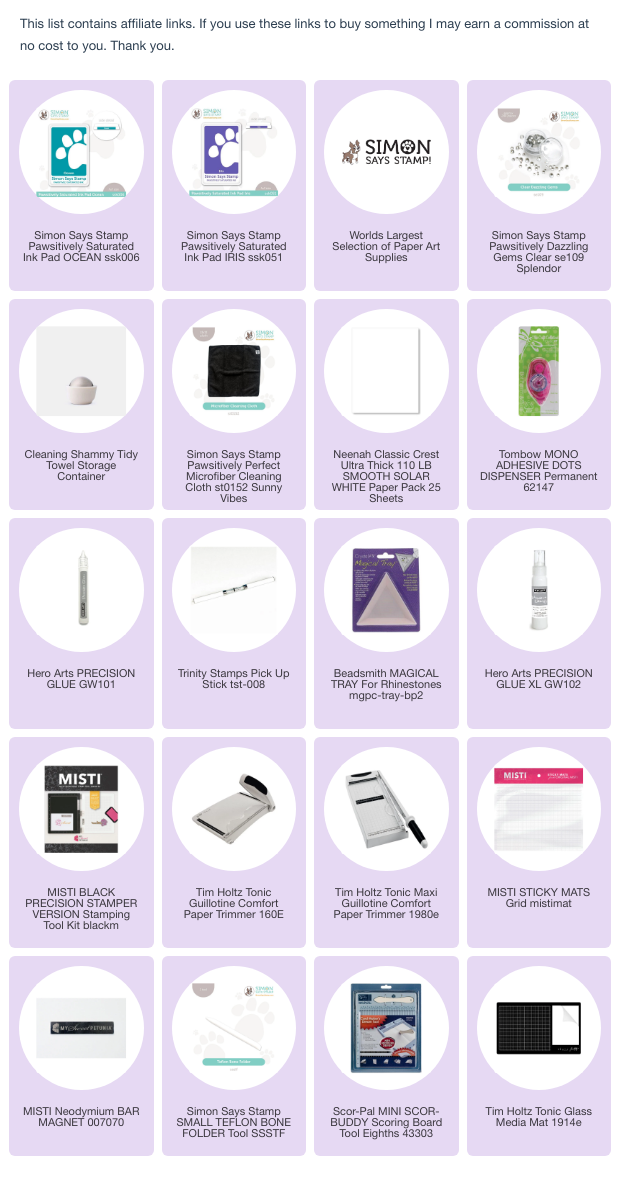
Today I am sharing a card that I made using the new Simon Says Stamp Thank You Basics set!

First I took a selection of sentiments from the stamp set and arranged them on a piece of  110# Neenah Classic Crest Solar White paper   that was sitting in my Misti stamping tool. This arrangement covered the top half of the panel. I picked all of the sentiments up with the lid of the Misti. 

Then I masked the Thanks for Everything stamp and I inked the sentiments up with with some Simon Says Stamp Ocean ink. Then I stamped the panel. Then I repeated the stamping on the bottom half of the panel. Next I inked up the Thanks for Everything panel with Simon Says Stamp Iris ink. Then I stamped the little hearts in the stamp set to fill in some space.

  I added the completed panel to a card base made with 110# Neenah paper and I added a few gems and that is it!

Thank you for stopping by today! 

 #simonsaysstamp
#cardmaking #papercrafting #cardmakers  #cardmakingsupplies #cardmaker #handmadecards #craftyfun 

To see the whole Simon Says Stamp Rain or Shine  Release  CLICK HERE!
<


Simon Says Stamp Favorite Things Release!


Hi Everyone! It's release time at Simon Says Stamp! 

The Simon Says Stamp Favorite Things release is now available! 

Today I used the new One for the Books stamp Set!


Be sure to follow #SSSFavoriteThings hashtag on Instagram to see all of the awesome inspiration for all the new products in this release from all of the wonderful designers!  


 Happy Crafting!  


 #SSS #simonsaysstamp #SSSFavoriteThings #SSSendACard  #SSSUnitedWeCraft #cardmaking #papercrafting #cardmakers #cardmakingsupplies #cardmaker #handmadecards

#craftyfun

Thank you for stopping by today!  

To see the whole Simon Says Stamp Favorite Things Release  CLICK HERE!


Love you so!

Hi Everyone! I'm thrilled to share with you a card that I made using a stunning die from Concord & 9th. This project allowed me to explore a range of vibrant inks and showcase a design that's perfect for any love-themed occasion.


Materials Used:

  • Die: Concord & 9th's Love you so die from the Just saying dies set
  • Inks: Concord and 9th’s Honeysuckle, Dragonfruit, and Oceanside
  • Embellishment: Gold ink (for splatter)
  • Cardstock: Neenah Classis Crest Solar white cardstock for a clean base and card panel, Vellum for sentiment shadow.
  • Tools: Gemini Junior 


Process:

  1. Die Cutting:
    • I started by using the Love you so die, which offers a fantastic sentiment to any card and cut it out of some Neenah 110# cardstock. At the same time I cut the sentiment shadow out of some vellum. I ran both dies through my Gemini Junior.
  2. Inking Technique:
    • For the inking, I chose Honeysuckle, Dragonfruit, and Oceanside inks. These shades are not only vibrant but blend beautifully together.
    • I smooshed the inks on a card panel, doing my best to ensure a smooth transition between the colours. This method gives the card a lively and refreshing look.
    • Next I spattered some gold ink on the panel for some embellishment.
  3. Assembly:
    • I trimmed the panel slightly and then adhered it to the card base. The I adhered the sentiment and shadow together. 
    • To finish off, I adhered the  simple yet heartfelt Love you so sentiment in the centre, which complements the vibrant background perfectly.

This card is a testament to how a few well chosen materials can create something truly special. Whether you're crafting for Valentine's Day, anniversaries, or just because, this design is sure to bring joy to the recipient.


Thank you for stopping by, and happy crafting! If you recreate this design or draw inspiration from it, tag me on social media @cardsstampsandink so I can see your beautiful creations! 🌟
Thanks!


Hi Everyone!

Today I am sharing a Thanks card that I made with one of my favourite flowers- Tulips!

I made this card using the Tulip impression die from LRDS. This die imprints the image to a card front. Then I coloured the image with my copies and trimmed it out. Then I adhered it to a card base.

Next I cut a Thanks die from Simon Says Stamp with some white cardstock and some vellum.

I added some gems and that is it! Will you try to make this?

Thanks for stopping by!

 Happy Crafting!

Love You!


Hi Everyone!

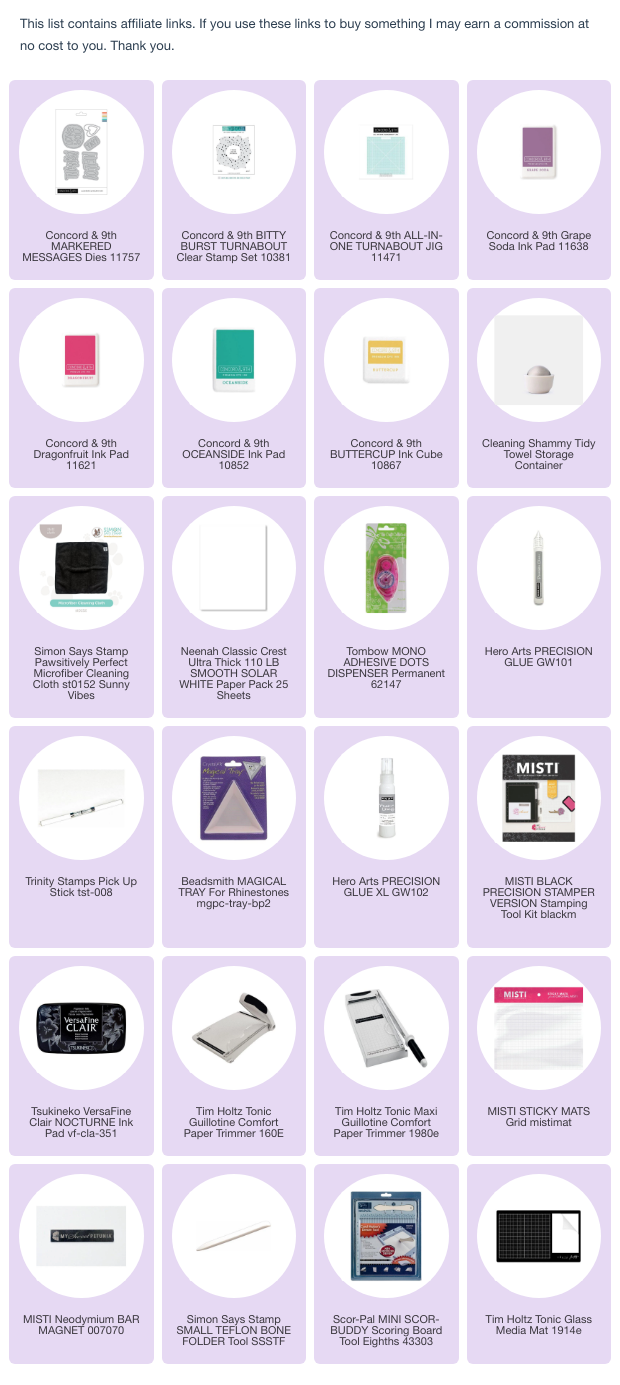
Today I am sharing a card that I made using a Turnabout stamp from Concord & 9th! 

Have you ever used a turnabout stamp? It is so easy! Just pick 4 ink colours and follow the directions on the packaging!

I took a card panel and trimmed it to 4 1/4" x 4 1/4" and then put it in my Misti on top of a turnabout jig. I inked up the stamp with my first colour. Then turned the card base with the jig one turn and inked up the stamp with the second colour. I repeated those steps two more times and then took the panel out of my misti and trimmed slightly and set it asidde.

Next I took another card panel and swiped it with the Dragonfruit ink and then used one of the dies from the Markered Messages dies and cut it out.  Then I glued it to the bitty burst card panel and then attached the panel to a trimmed down card base.

I added some gems and that's it!

Thanks for stopping by!


Happy Birthday Wishes to You!


Hi Everyone!

Today I am sharing a Birthday card that I made that is easy to mass produce!

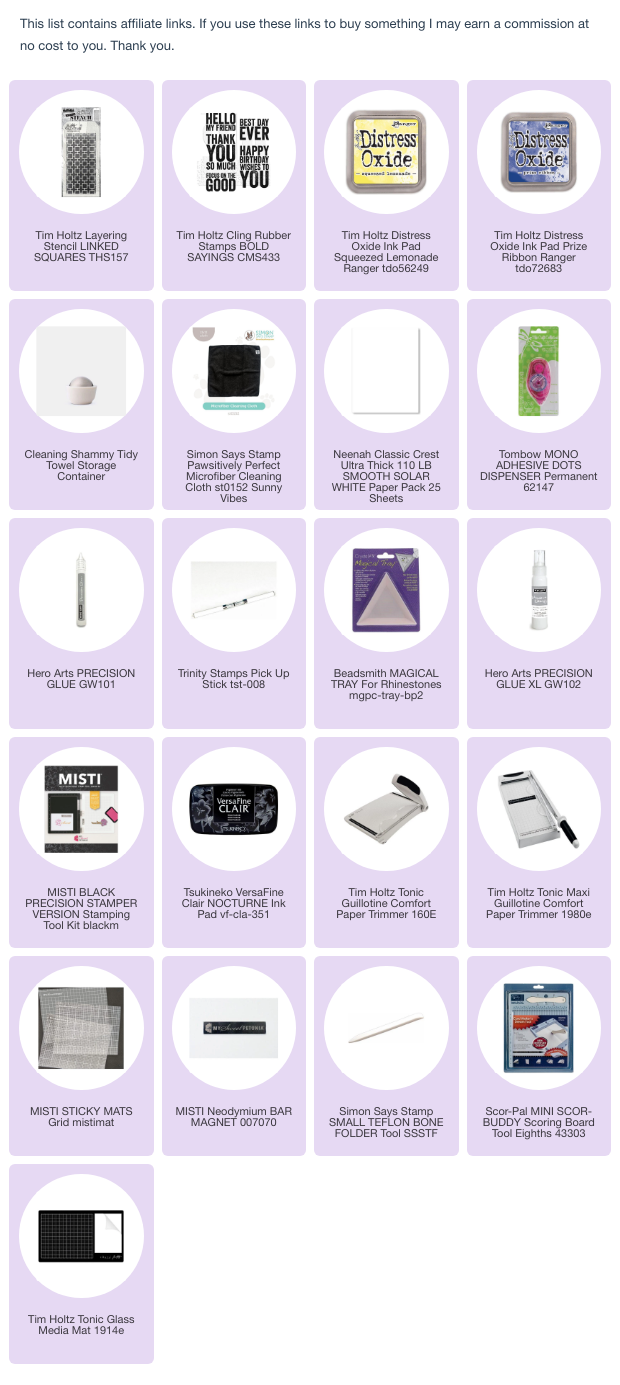
I used the Linked Squares stencil from the Tim Holtz collection from Stampers Anonymous.

I used Squeezed Lemonade Distress oxide ink and Prize Ribbon to blend through the stencil onto an A2 card panel.

Next I trimmed 1/8" off of each side and then splattered som Squeezed lemonade oxide ink onto the panel. Then I stamped the sentiment from the Bold Sayings sentiment from the Tim Holtz collection from Stampers Anonymous.

Finally I attached it to an A2 card base and that is it!

Happy Crafting!

You're a Rare Friend!


Hi Everyone!

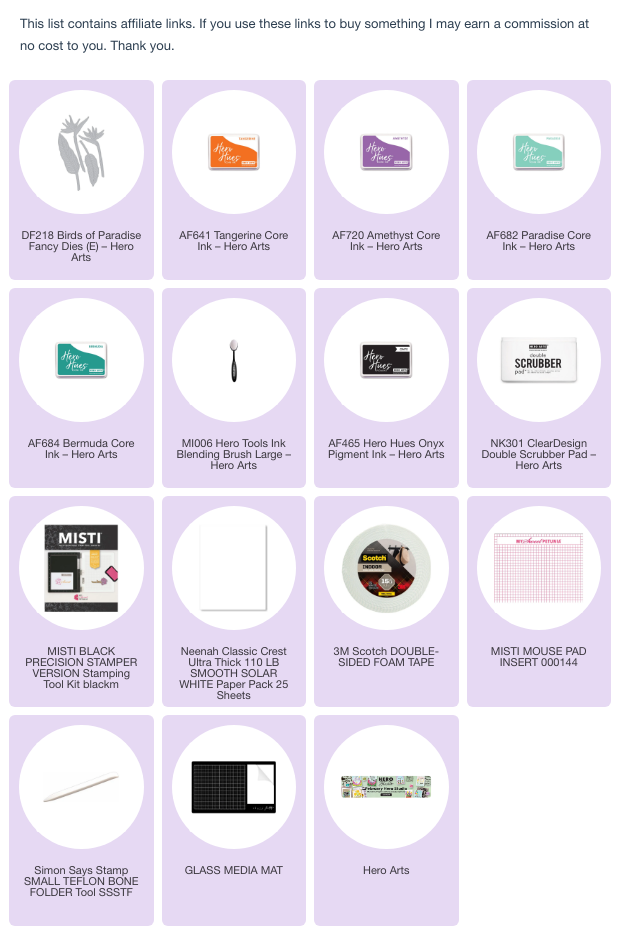
Today I die cut the Birds of Paradise Fancy Dies and then ink blended some ink over the pieces.

Next I took the same ink colors and splattered them on an A2 panel and cut 1/8' off of each side. Then I attached the panel to an A2 card bass.

Then I arranged the die cuts the way that you see above and adhered them to the panel.  I popped some of the die cuts up to provide dimension.

I stamped a sentiment for with some black pigment ink and added some gems and that is it.

I hope that you give this a try!

Happy Crafting!


Congrats!


Hi Everyone!

Here is a Congrats card that I made for the Something New Simon Says Stamp Wednesday Challenge!

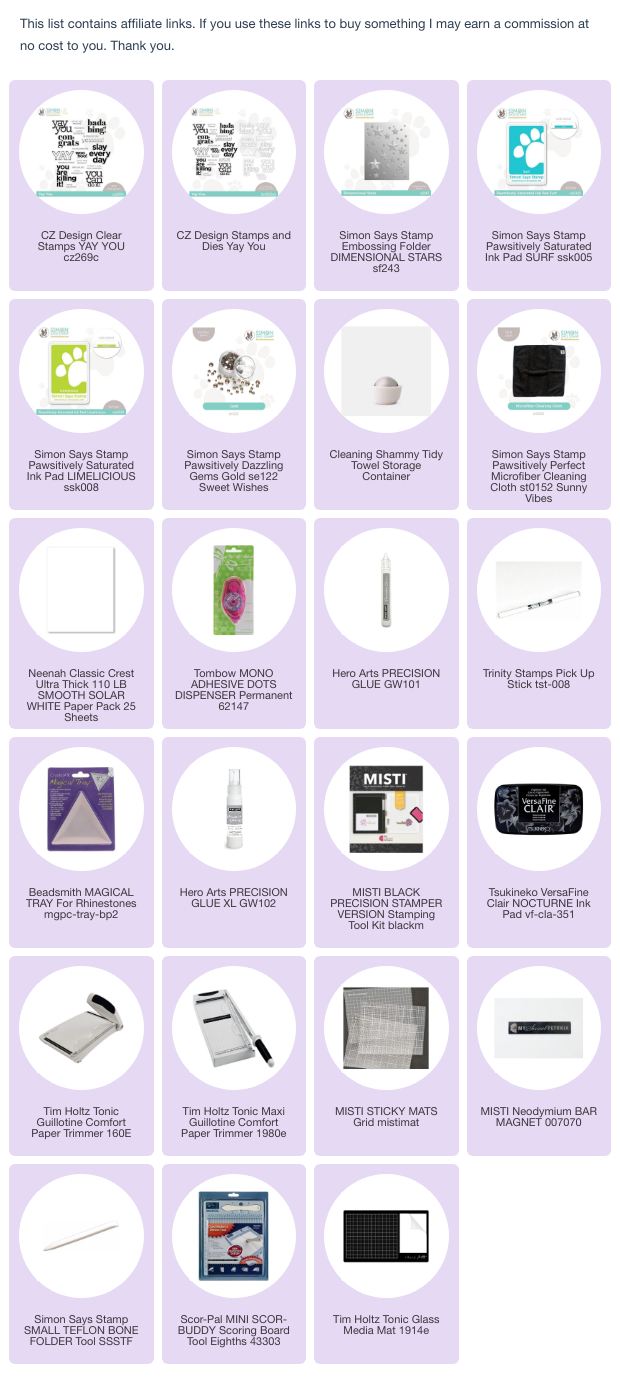
First I took an A2 sized panel and embossed it using the Dimensional Stars embossing folder which I inked up using Limelicious and Surf ink. Then I trimmed 1/8 inch off of each side of the panel and set it aside.

Next I stamped the sentiment from the Yay You stamp set and trimmed the cardstock. Lastly I adhered both the sentiment and the card panel to an A2 Card base and then added some gems.

That is it!

Thanks for stopping by today!

Winter Hugs


Hi Everyone!

Here is a card that I made for the Cold & Frosty Simon Says Stamp Monday Challenge!

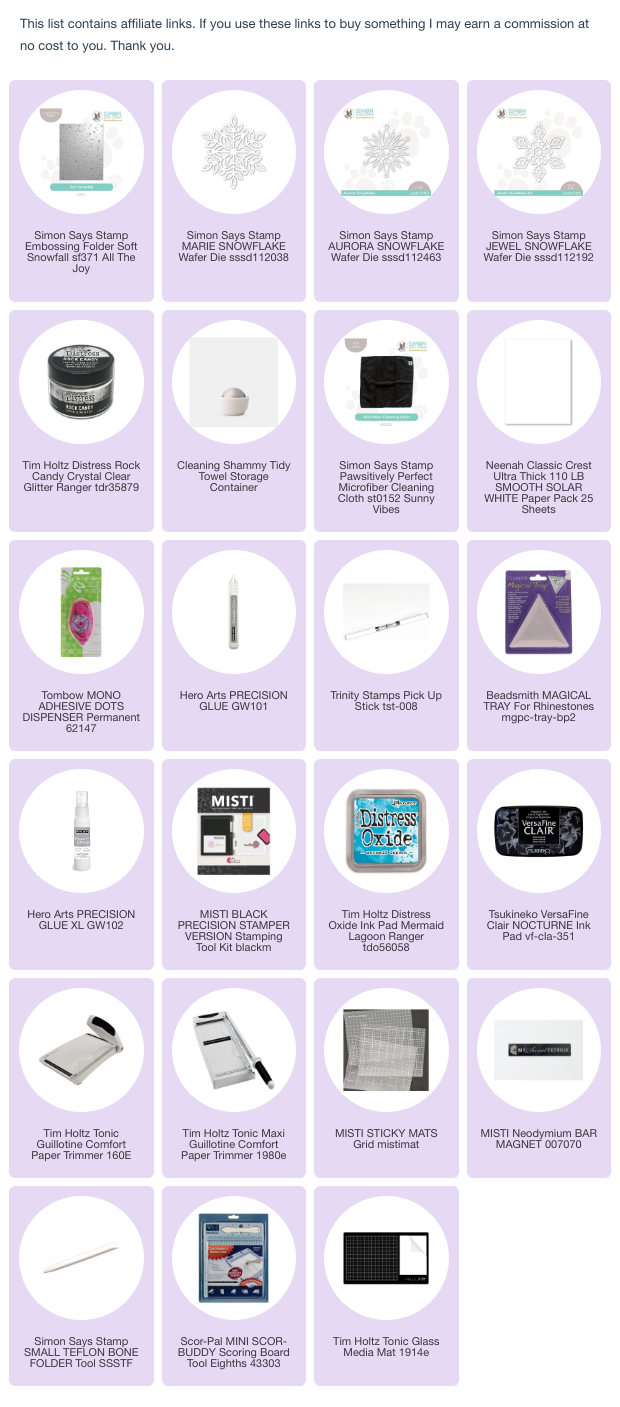
First I took an A2 sized panel and embossed it using the Soft Snowball embossing folder which I inked up using the Mermaid Lagoon ink. Then I trimmed 1/8 inch off of each side of the panel and set it aside.

Next I diecut the three snowflakes: Jewel, Marie & Aurora and placed them on a piece of scrap paper. Then I used my Hero Arts glue and covered the top of the snowflakes with glue and lifted them up and placed them on a clean sheet of paper. I opened my Distress Rock Candy glitter and covered the snowflakes. I lifted the snowflakes out of the glitter and set them aside to dry. In the meantime I lifted the clean sheet of paper and saved the remaining glitter back in its container.

Lastly I adhered the card panel to an A2 Card base and then attached the snowflakes to the embossed card panel. I stamped the sentiment from a Simon Says Stamp set from my stash and popped it up with 3D foam tape.

That is it!

Thanks for stopping by today!

Happy New Year 2025!


Happy New Year Everyone!  

Wishing you a Awesome 2025!